Fall leaf candles turn ordinary pillars, jars, and votives into small pieces of autumn decor, using real or faux leaves in shades of red, orange, and gold. The projects below range from a ten-minute twine wrap to a full pressed-leaf beeswax pillar, so there is an option for a quick refresh or a more involved weekend craft.
Techniques like wax transfers, decoupage, and pressing each give leaves a different finish, and pairing them with the right vessel or scent can make the difference between a craft-store look and a styled autumn centerpiece.
Try a Wax Paper Leaf Transfer
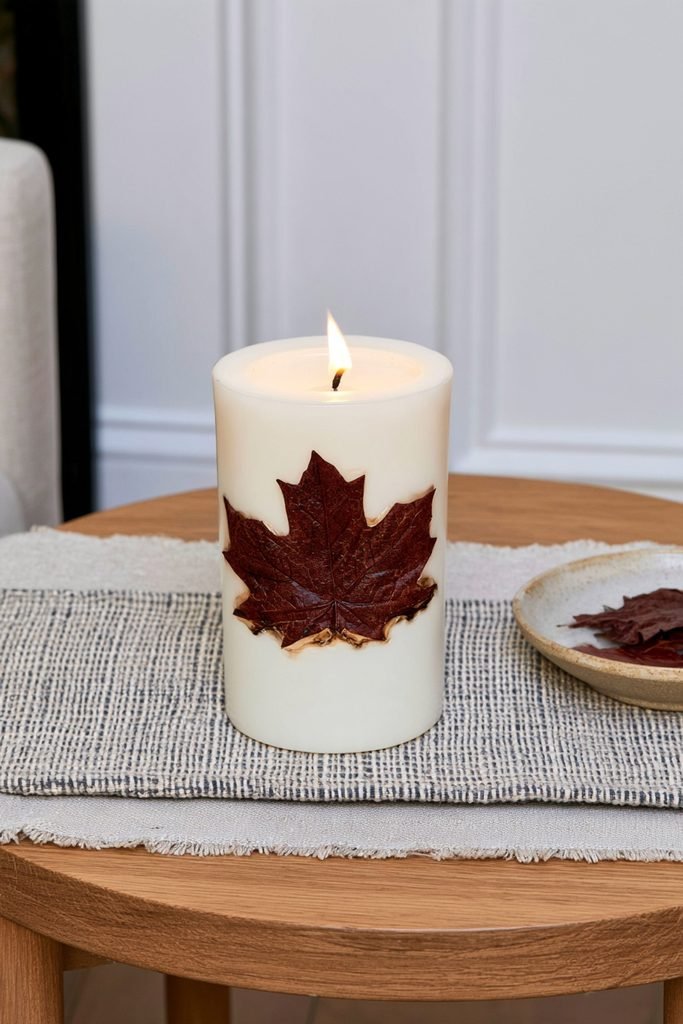
Press a single faux leaf against the side of a plain white pillar candle, then cover it with wax paper and warm the area with a hair dryer until the wax underneath looks damp. Blogger Meg at It’s Always Autumn found that heating the leaf for 10 to 20 seconds melts the candle’s outer wax just enough to fuse the leaf onto the surface, so it reads as part of the candle rather than something glued on top.
Decoupage a Mod Podge Leaf Jar
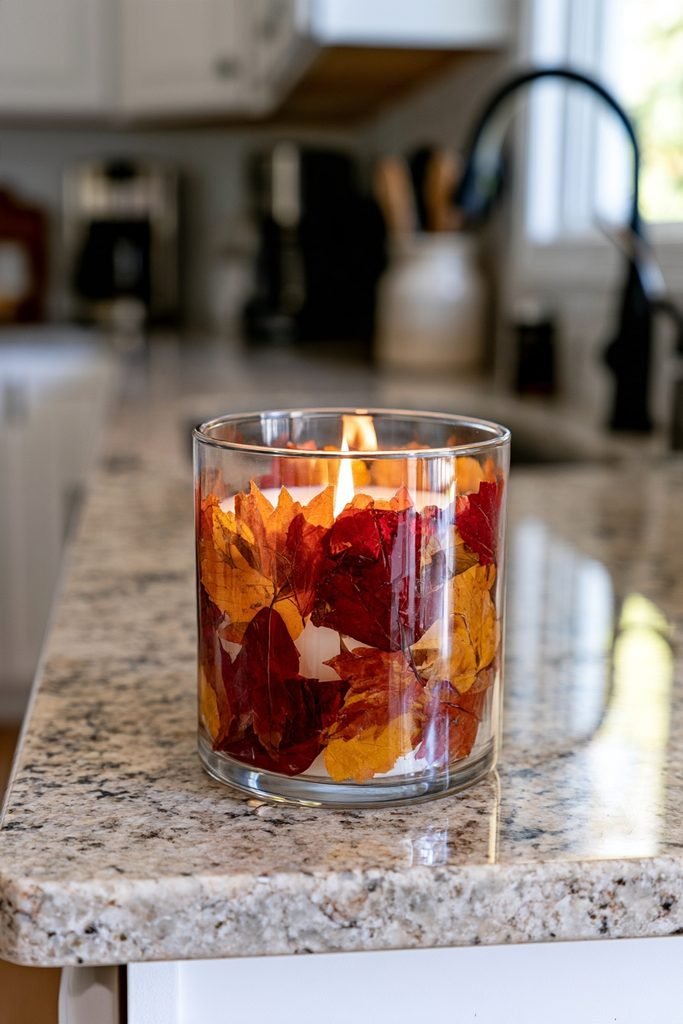
Coat a glass jar in a layer of Mod Podge, then press dried leaves onto the outside one at a time to avoid overlap. The Iowa Natural Heritage Foundation recommends pressing leaves between newspaper pages under a stack of books for two to three weeks first, so they lie flat and adhere smoothly to the glass.
Build Pressed Leaf Beeswax Pillars
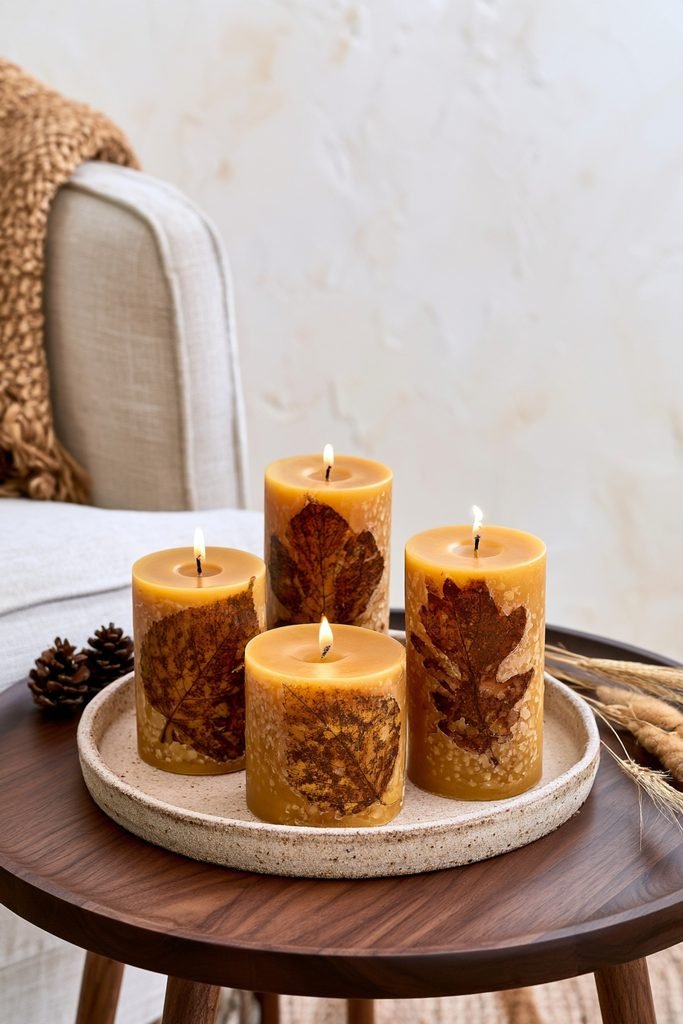
Roll a sheet of beeswax around a wick and tuck pressed leaves between the layers before sealing the roll, so the leaves show through the natural amber wax. Candle maker Kristy of Life n Reflection uses this rolled-sheet method as an alternative to plastic or silicone pillar molds, which keeps the process simple for a first beeswax project.
Iron On a Leaf Press
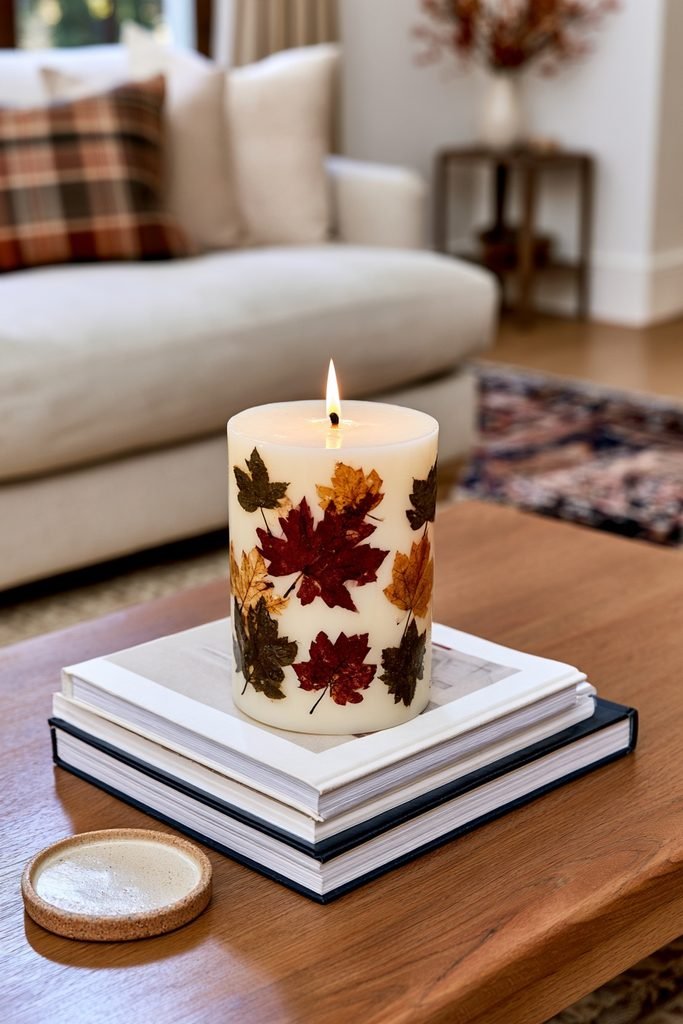
Lay a leaf against a pillar candle, wrap it snugly in parchment paper, and press a low, dry iron against the wrapped area until the leaf adheres. Chique Home Living notes that mixing reds, olive greens, oranges, and yellows around the same candle gives it a fuller autumn palette than a single leaf color.
Wrap a Twine Leaf Holder
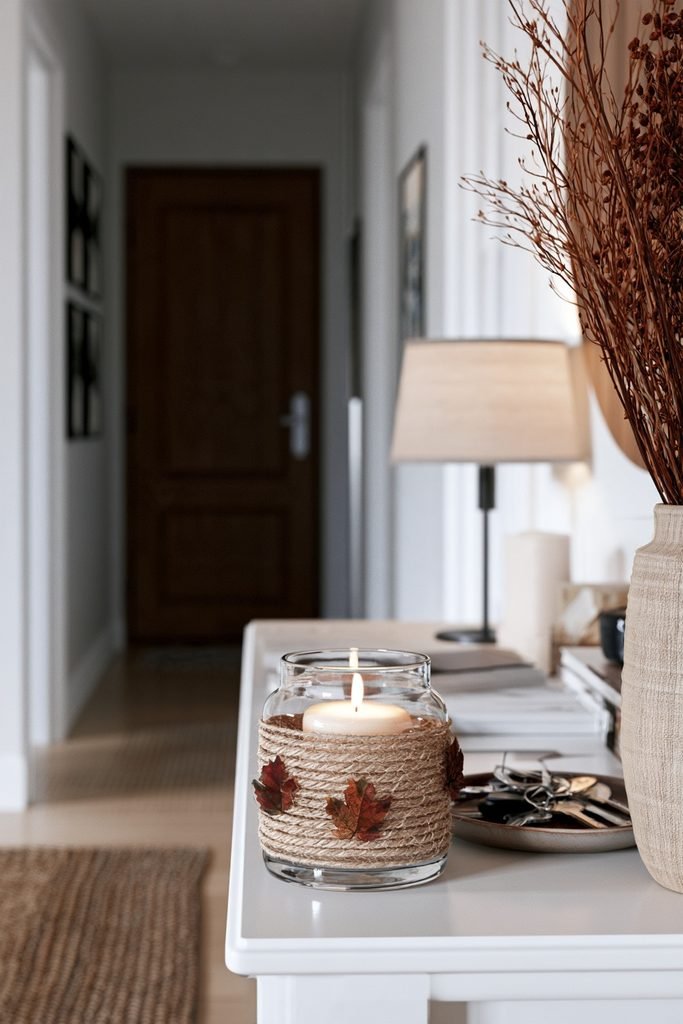
Wind twine several times around a clear glass container and knot it securely, then slip one or two leaves under the twine before adding a candle inside. StoneGable built this project in under ten minutes using items already on hand, and a small drop of clear glue between the leaves and the glass keeps them from slipping.
Line a Mason Jar Leaf Lantern
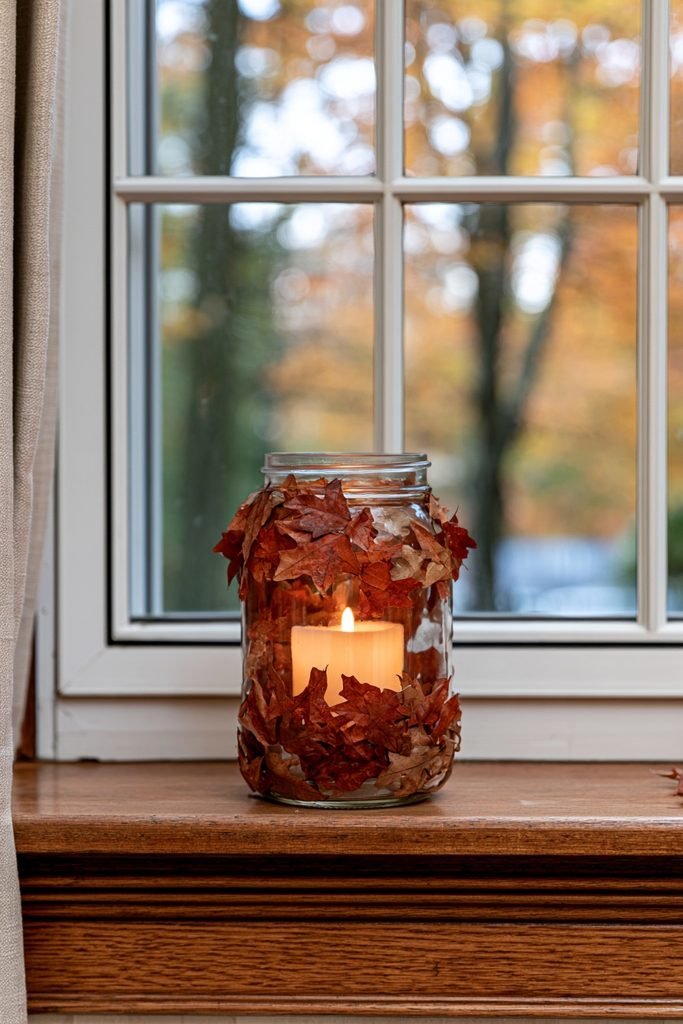
Brush Mod Podge over a mason jar’s exterior, then apply small artificial leaves in a single layer so the jar’s surface still shows through. Creative Homemaking suggests shopping for the flattest leaves available online, since flatter leaves adhere more evenly to curved glass than bulkier ones.
Wrap a Faux Leaf Garland Around the Base
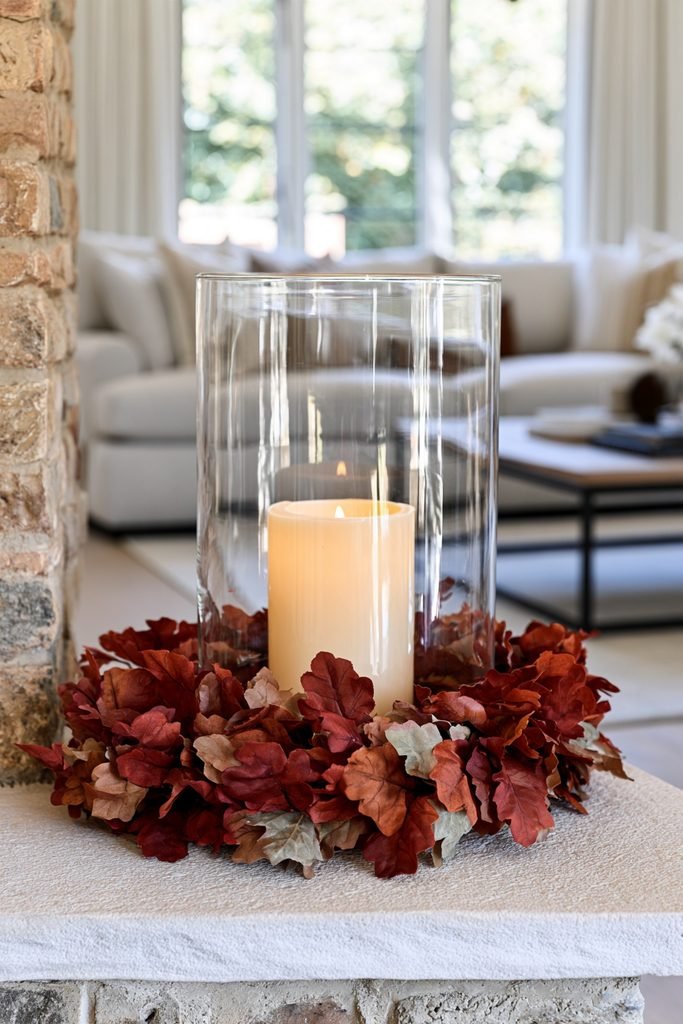
Coil a short strand of faux leaf garland around the base of a glass hurricane or pillar candle instead of applying leaves individually. This works well for a rental-friendly setup, since the garland lifts off cleanly without any glue or Mod Podge left behind on the glass.
Layer an Ombré Leaf Effect
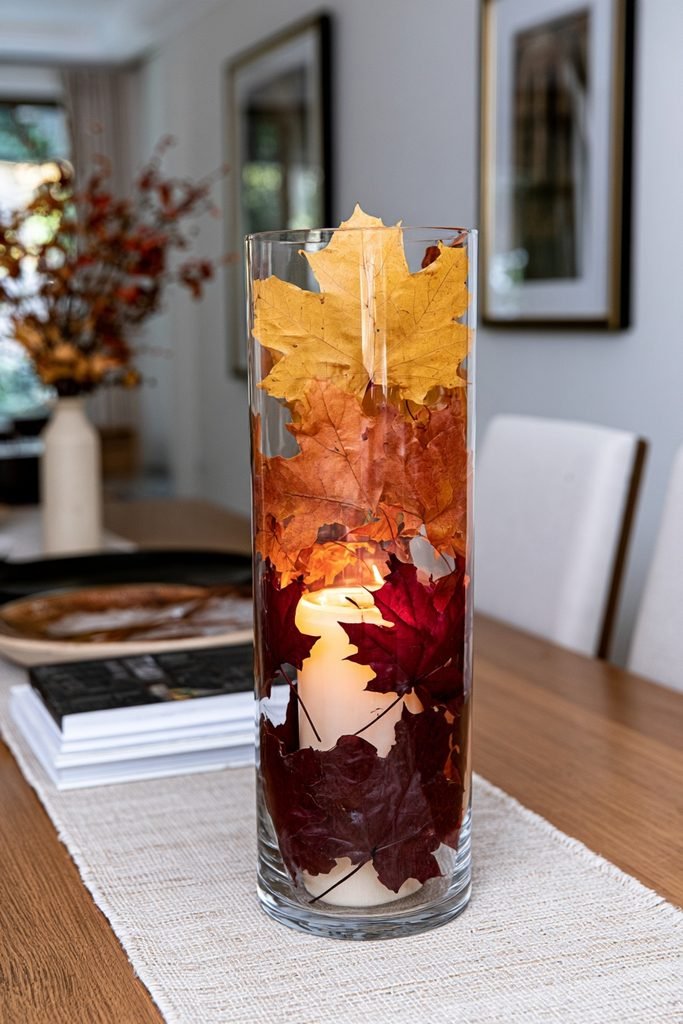
Sort leaves by color before decoupaging or pressing them, then arrange the darkest reds near the base of the candle and the brightest yellows near the top. The gradual color shift can create a sunset-like effect that reads as more intentional than a random mix of shades.
Hot-Glue a Fuller Leaf Coverage
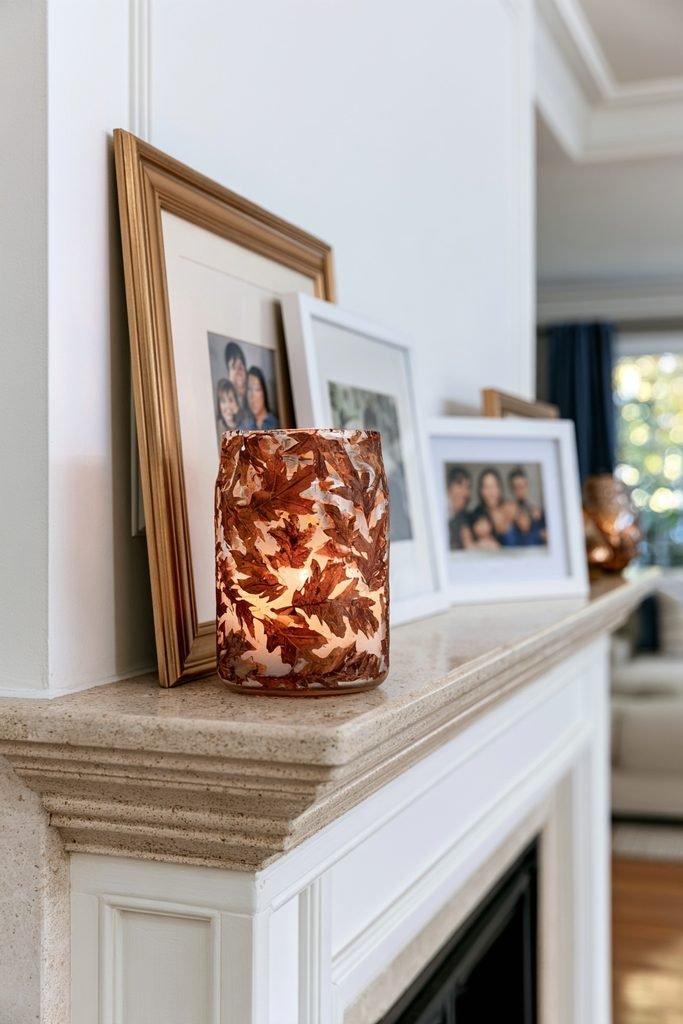
Apply leaves with a hot glue gun instead of Mod Podge for a faster, sturdier bond, leaving small gaps of bare glass between leaves rather than covering the jar edge to edge. This method holds up better on a mantel that gets handled often, since hot glue sets faster and grips more securely than a decoupage layer.
Build a Dried Orange and Spice Candle Bowl
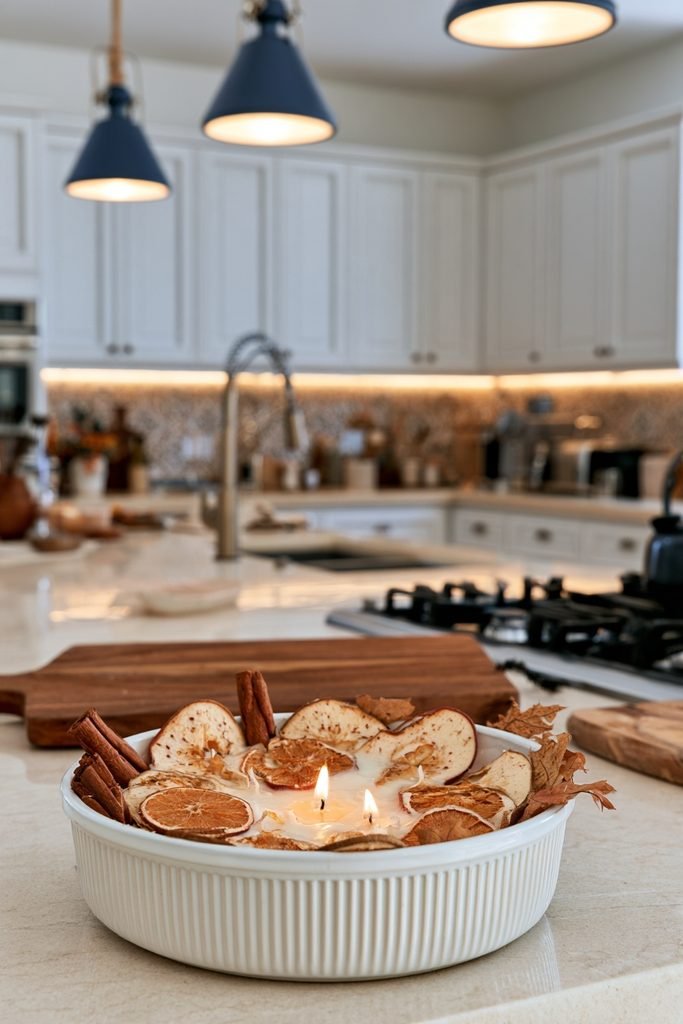
Tuck dried orange slices, dried apple rounds, and whole cinnamon sticks into a white ramekin filled with soy wax, then add a few pressed leaves around the rim. Kristy of Life n Reflection created these candle bowls as a variation on the classic leaf jar, layering scent and texture rather than leaves alone.
Combine Pressed Leaves and Flowers
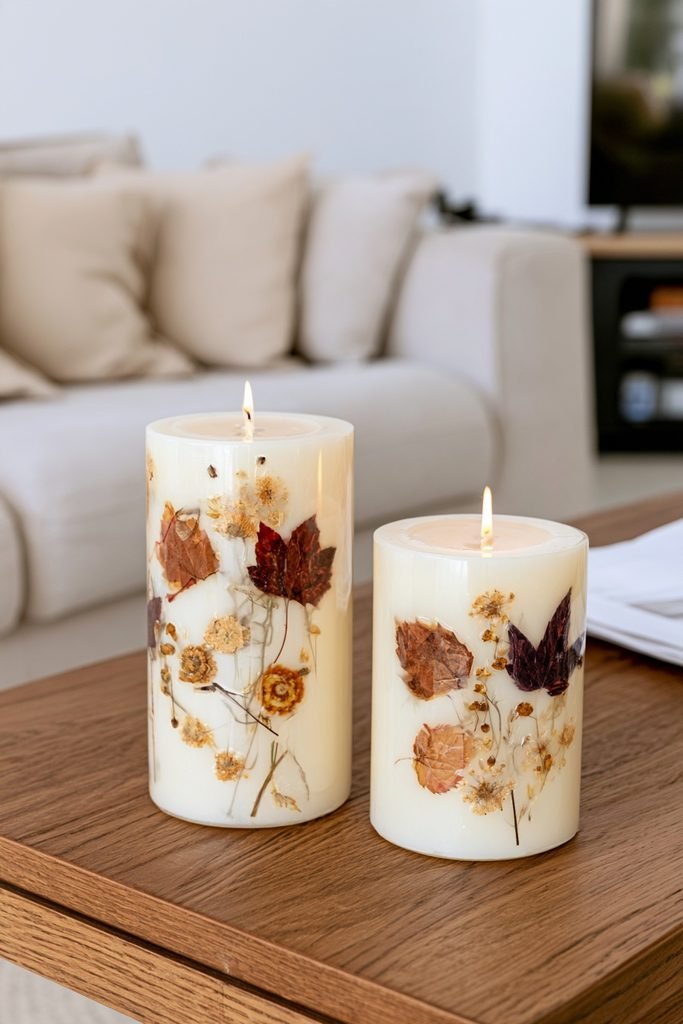
Press both leaves and dried flowers, then iron them onto opposite sides of two pillar candles of different heights for a coordinated pair. Domestically Blissful found that an iron set to a lower temperature gives more control over how quickly the wax melts around the pressed pieces than a hair dryer does.
Swap in a Flameless Candle for Leaf Projects
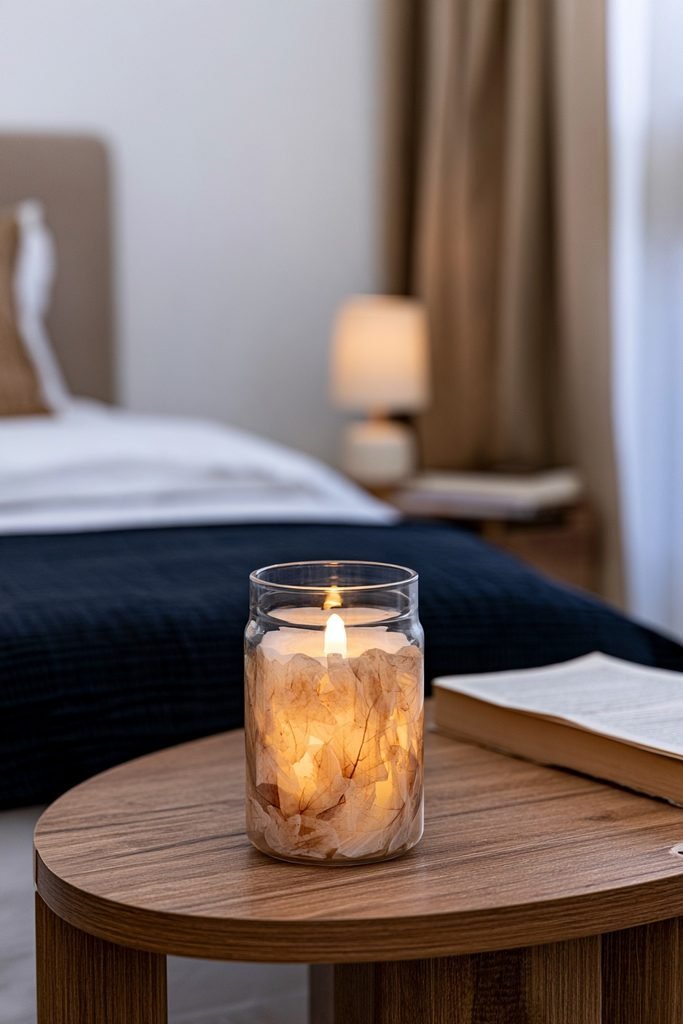
Use a battery-operated flameless candle inside any leaf-covered jar or bowl instead of a real flame, especially for decoupaged or hot-glued designs. Domestically Blissful notes this substitution directly, since a genuine flame can scorch delicate leaves that sit close to the wick.
Try a Double-Glass Suspended Leaf Jar
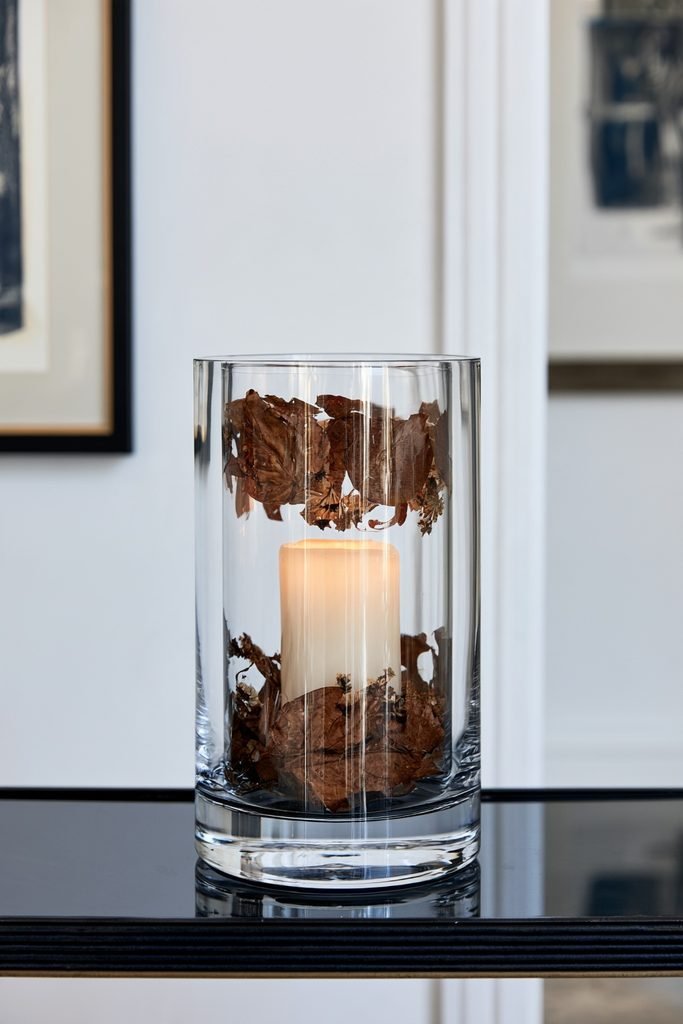
Choose a double-walled glass candle vessel with a gap between its inner and outer panels, then slide pressed leaves or dried flowers into that gap before adding the candle. Life n Reflection uses this style of jar to let leaves float visibly around the flame without ever touching hot wax directly.
Add Spray-Painted Metallic Leaves
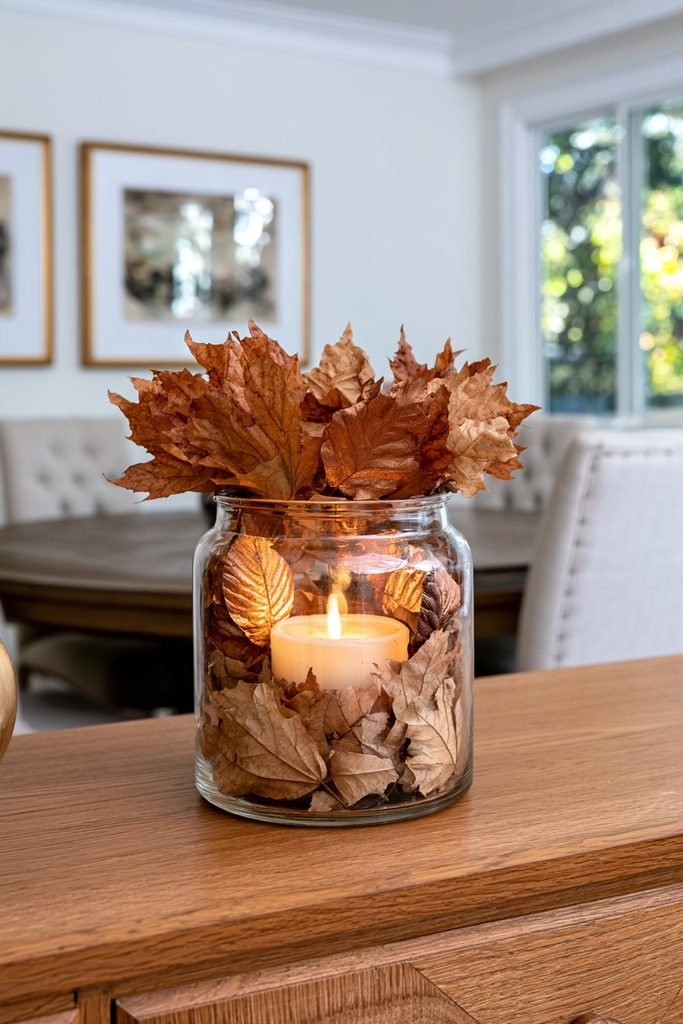
Coat a handful of faux leaves in gold, copper, or bronze spray paint, then hot-glue or decoupage them onto a jar alongside natural-colored leaves. Mixing metallic and matte leaves together gives the finished piece more depth than an all-natural or all-metallic mix on its own.
Cut Leaf Silhouette Luminaries
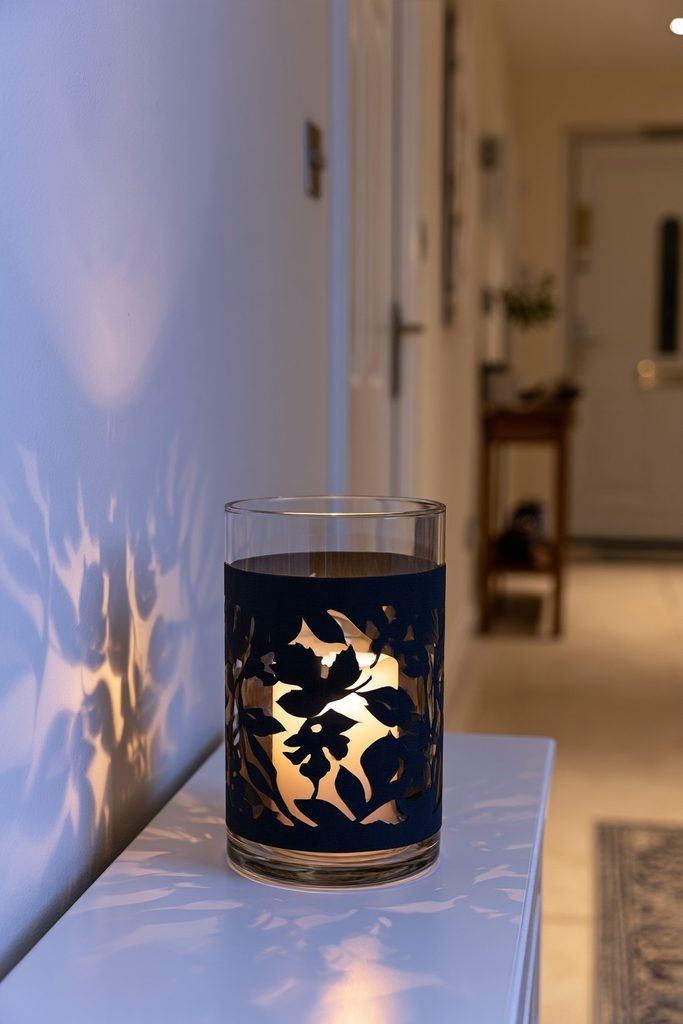
Trace leaf shapes onto black cardstock or thin metal sheeting, cut them out, and wrap the silhouettes around a glass hurricane so light projects the leaf pattern outward. This works especially well with a flameless candle inside, since the glow comes through evenly without any risk near the cutout edges.
Shape a Balloon-Molded Leaf Bowl
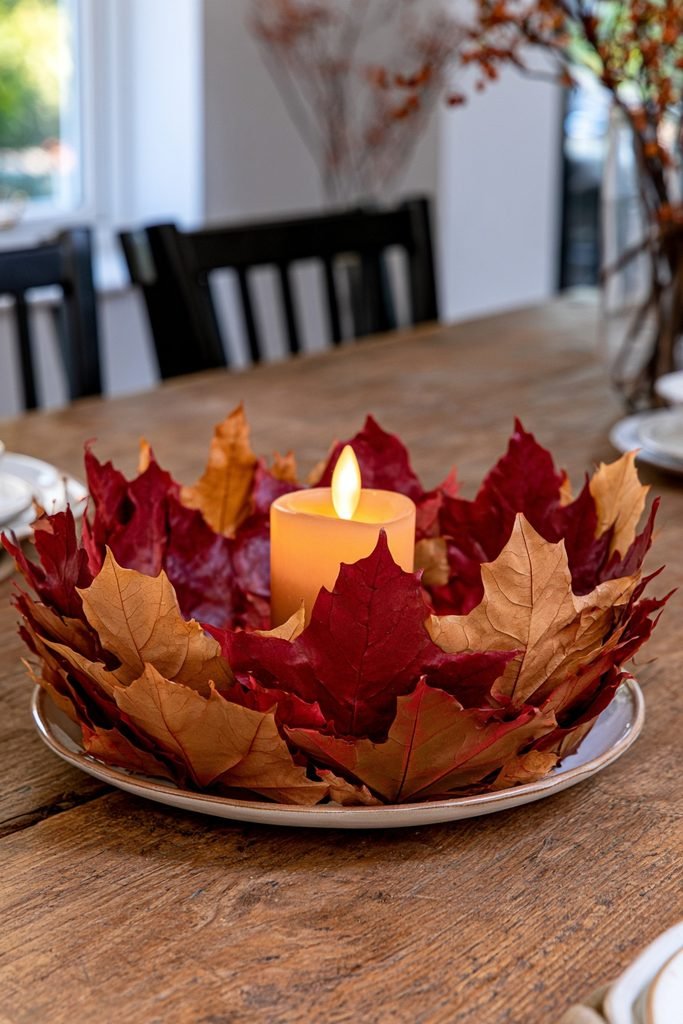
Coat a small balloon in glue, layer leaves over it in stages, and let each layer dry before adding the next, then pop the balloon once the shell has hardened. Domestically Blissful worked in layers specifically because leaves piled on all at once tend to slide before the glue sets.
Make a Kids’ Nature-Walk Leaf Jar
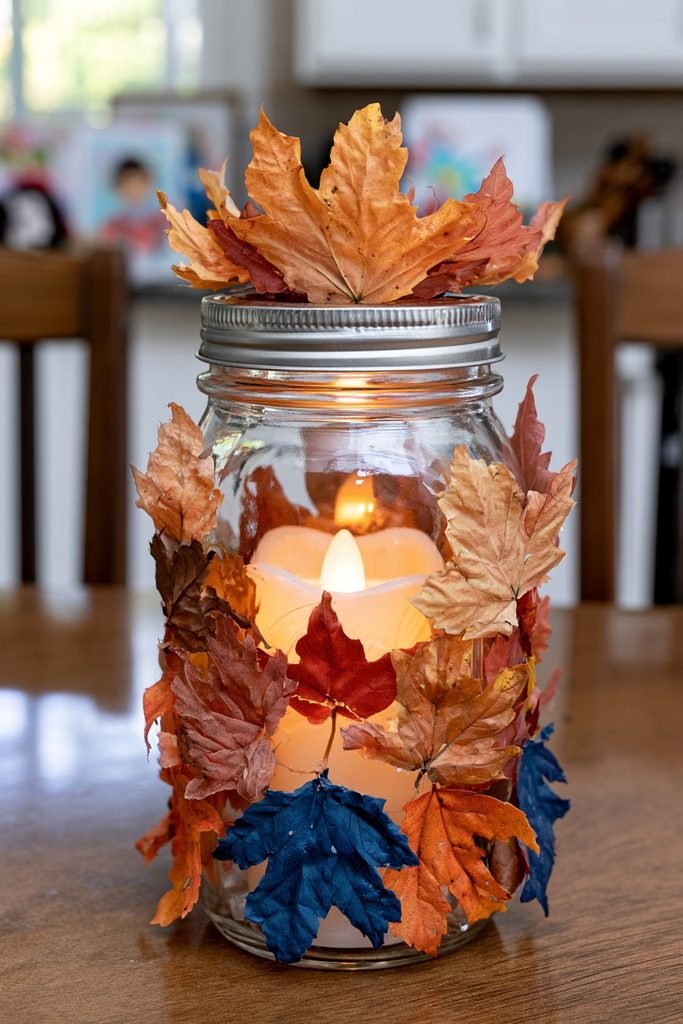
Take a walk to gather smaller, colorful leaves, then let kids brush Mod Podge over a mason jar and press the leaves on themselves. Natural Beach Living uses Mod Podge instead of hot glue for this version specifically because it is safer for children to handle.
Style a Leaf-and-Acorn Centerpiece
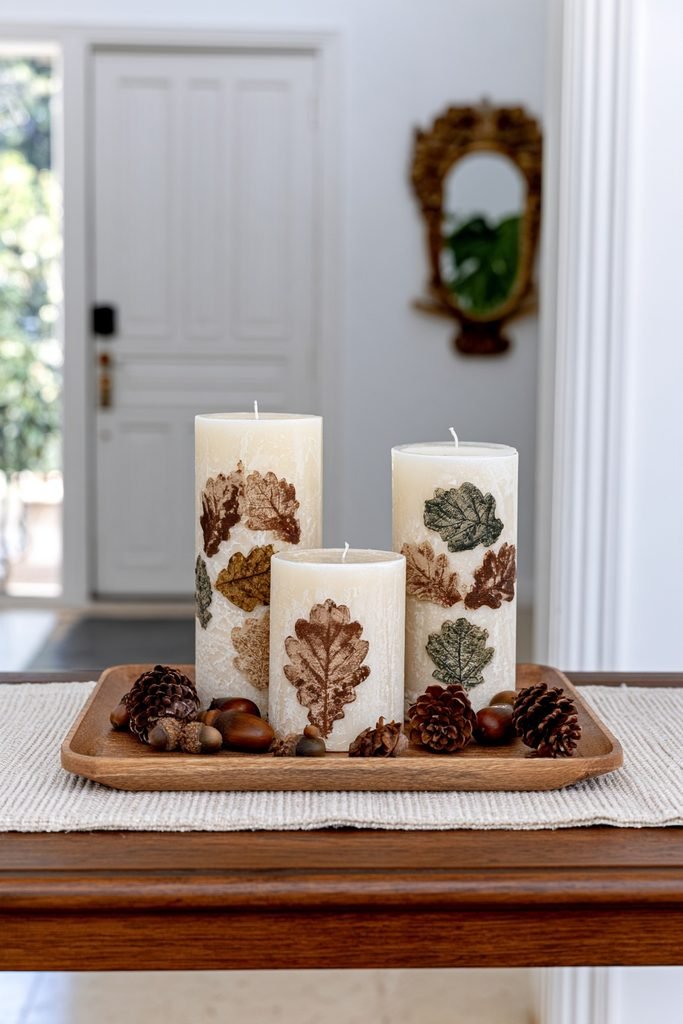
Group two or three finished leaf candles of different heights together on a tray, then tuck a few faux acorns and pinecones into the gaps between them. StoneGable adds acorns around a twine-wrapped candle for exactly this kind of layered, gathered look on a mantel or entry table.
Pair Leaf Candles With Autumn Scents
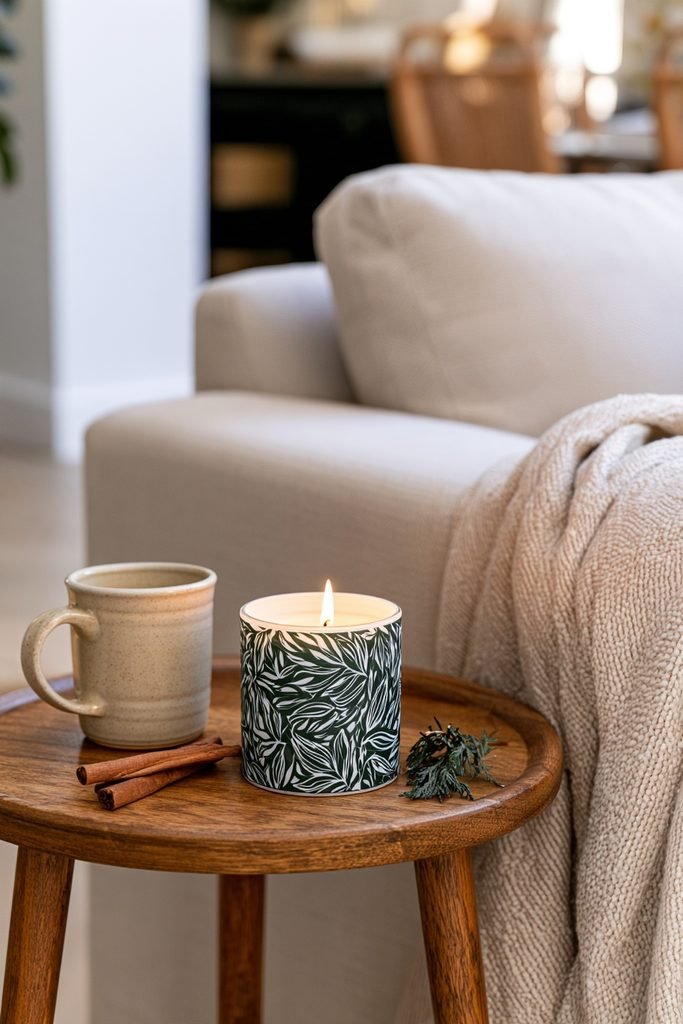
Match the visual theme with a scented candle in cinnamon, clove, cedar, or spiced pumpkin, so the leaf design and the fragrance reinforce the same seasonal mood. A soy wax blend can hold spice and wood notes longer than paraffin, which makes it a practical base for scented leaf jars set out for weeks at a time.
Set Up a Leaf Candle Table Runner
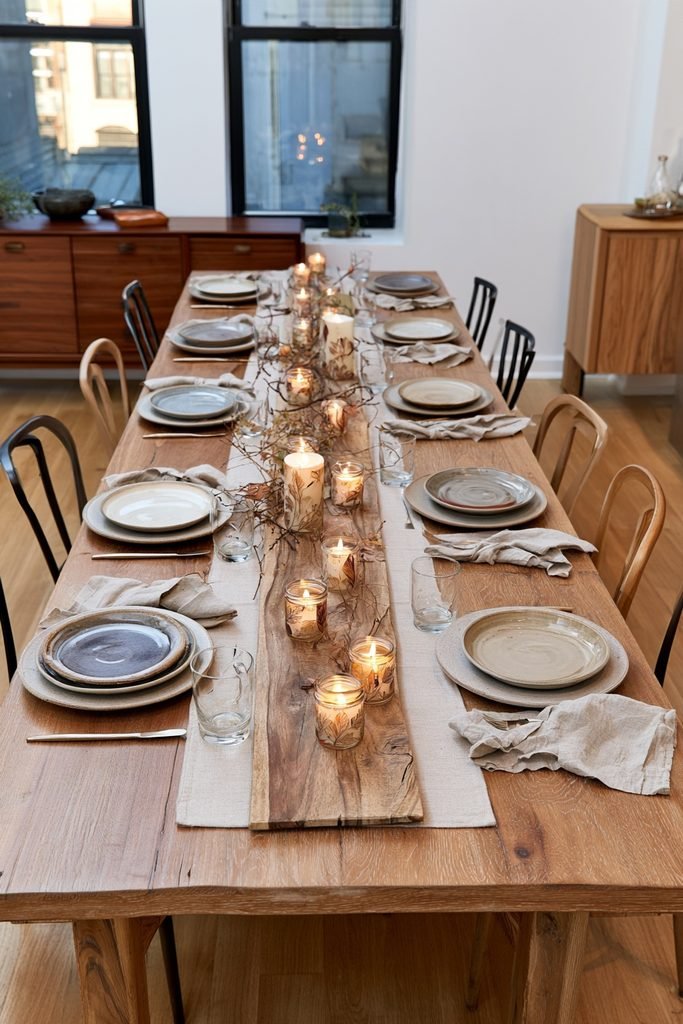
Line up a row of leaf-decorated votives or small jars down the center of a dining table, spacing them evenly along a strip of burlap or a wood runner. Alternating candle heights along the row keeps the display from looking flat, especially when a few taller pillars are mixed in with shorter votives.
Give Leaf Candles as Seasonal Gifts
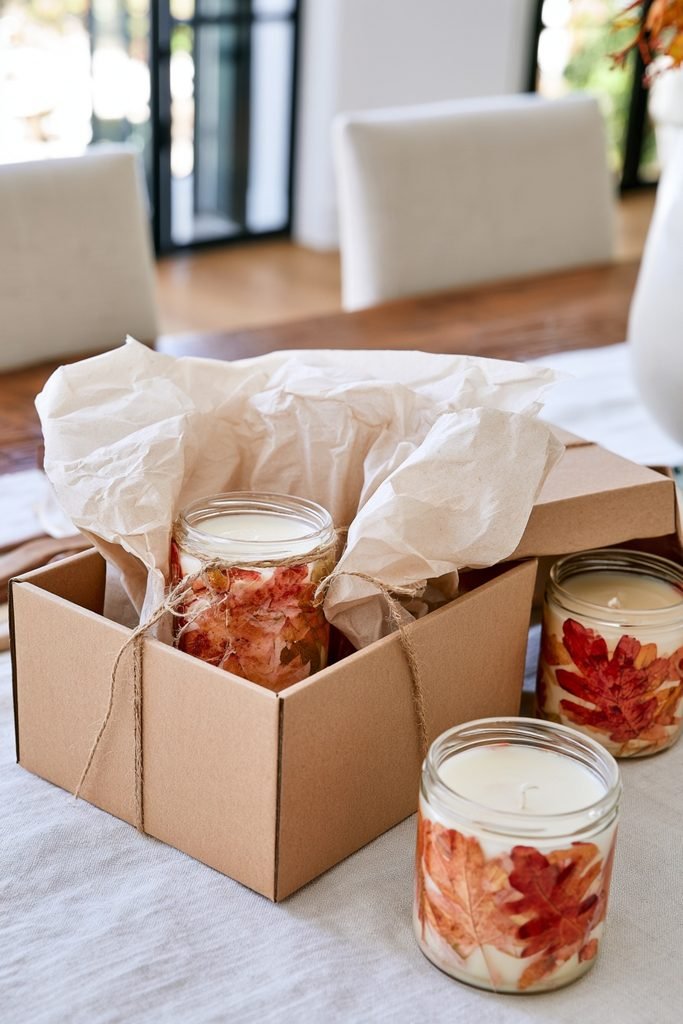
Package a finished leaf jar or pillar in a small kraft box or wrap it in tissue paper for a hostess gift or Thanksgiving favor. Chique Home Living points out that leaf candles work well as gifts precisely because they take under an hour to make but still look like a purchased seasonal item.
Frequently Asked Questions
Is it safe to put real leaves directly in a candle?
Dried leaves are flammable, so most tutorials use them for the outside of the candle or jar rather than embedding them near the wick. Sealing pressed leaves under a layer of wax or Mod Podge keeps them away from an open flame, and a flameless candle removes the risk entirely.
Should real or faux leaves be used?
Both can work, though faux leaves hold their color and shape longer than real ones, which tend to brown over time even under a protective coating. Real leaves need pressing for a week or more before use, while faux leaves are ready right out of the package.
How long does a wax paper leaf transfer take?
A single leaf transfer usually takes 10 to 20 seconds of hair dryer heat once the wax paper is in place, though the exact time depends on the dryer’s heat setting and the candle’s wax type. Checking the leaf every few seconds helps avoid melting the candle’s surface into ripples.
What is the easiest fall leaf candle project for beginners?
A twine-wrapped leaf holder is one of the fastest options, since it only requires wrapping twine around a jar and tucking a leaf underneath. It also skips glue, heat, and drying time entirely, which makes it a good starting project before trying a wax transfer or decoupage.