A Nightmare Before Christmas pumpkin can turn a front porch into a small corner of Halloween Town. Jack Skellington is the Pumpkin King, so his stitched grin already suits a carved or painted design.
This list covers 25 ideas for carving, painting, and no-carve displays, with options for beginners, families, and anyone who prefers less mess. Each idea pairs a character with a technique and a styling detail that can bring the look together.
Pumpkin King Classic
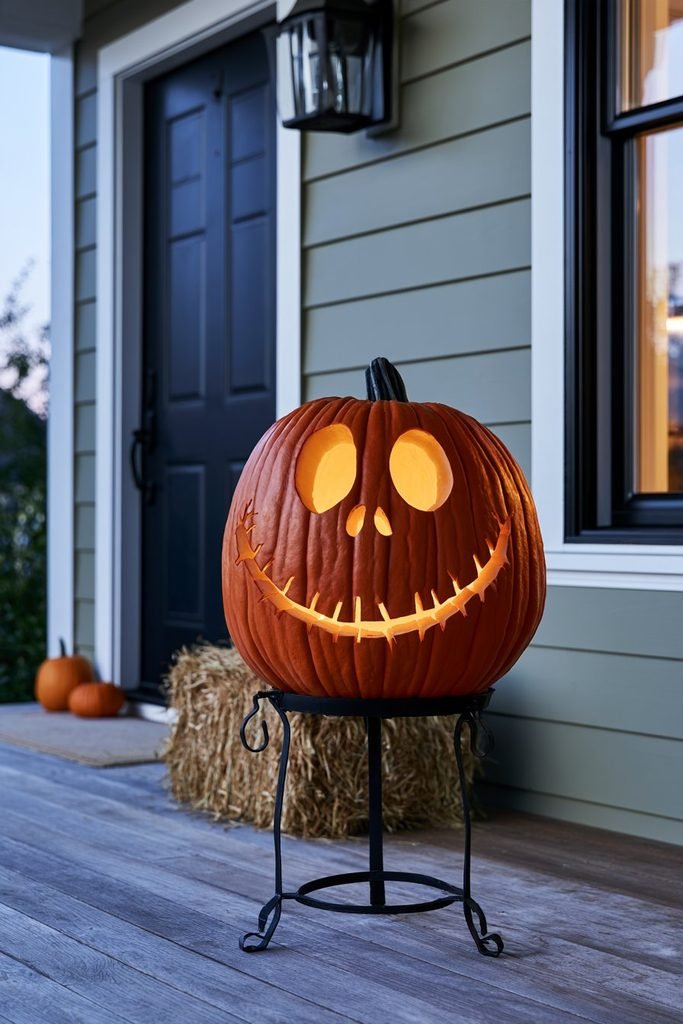
Start with a carved Jack Skellington face, since the design is close to a traditional jack-o’-lantern. Always the Holidays notes that a Jack carving is not too challenging, even for beginners, and wide oval eyes, a small nose, and a stitched grin can read clearly when lit from inside. A black iron lantern stand or a bale of straw beneath the pumpkin can add a rustic touch to a farmhouse-style porch.
Stitched Grin
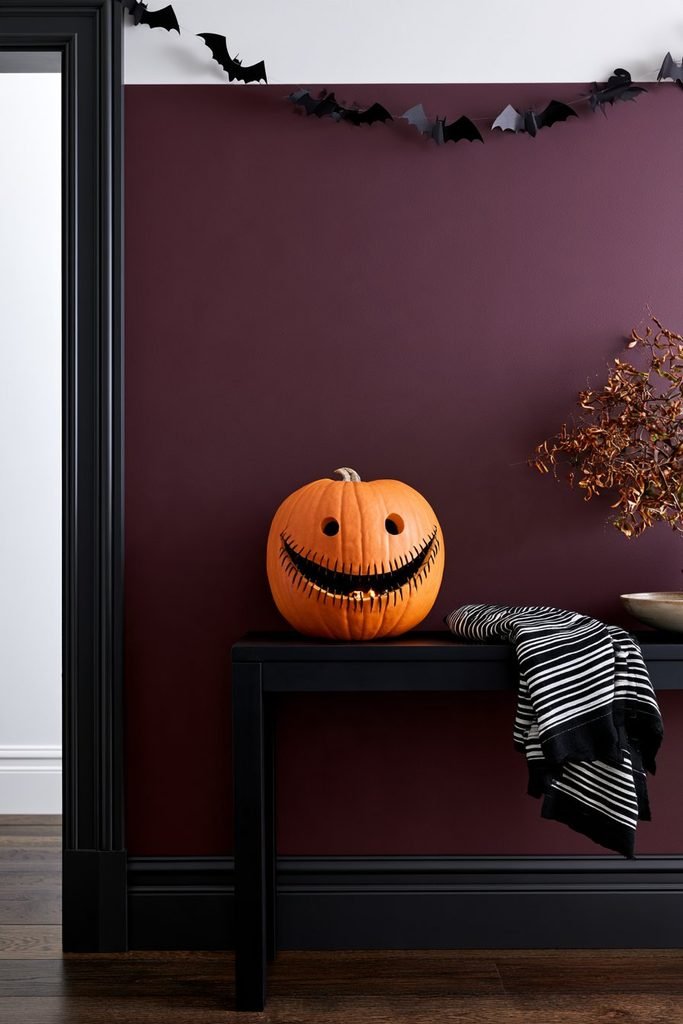
Let the mouth carry the design by carving thin vertical stitch lines across a wide smile. Face-only patterns with a wide smile, a thin smile, or an open mouth can each give the pumpkin a different porch mood, from friendly to mischievous. Pairing the pumpkin with black and white striped fabric or a small bat garland can bring in the film’s graphic, Tim Burton-inspired look.
Spiral Hill Scene
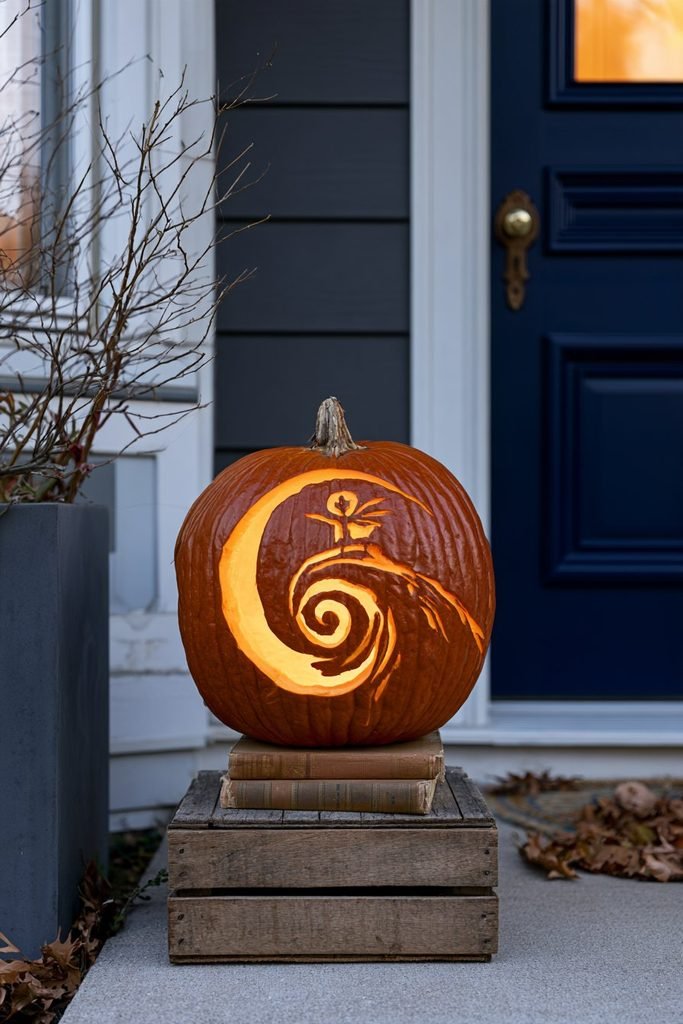
Carve Jack standing on Spiral Hill with the moon behind him to turn the pumpkin into a full scene. Leaving a small band of uncarved pumpkin between his legs and the hill can keep the design from falling apart. Setting the pumpkin on a low crate or a stack of books can give the hill-and-moon scene extra height on a mantel or porch step.
No-Carve Jack
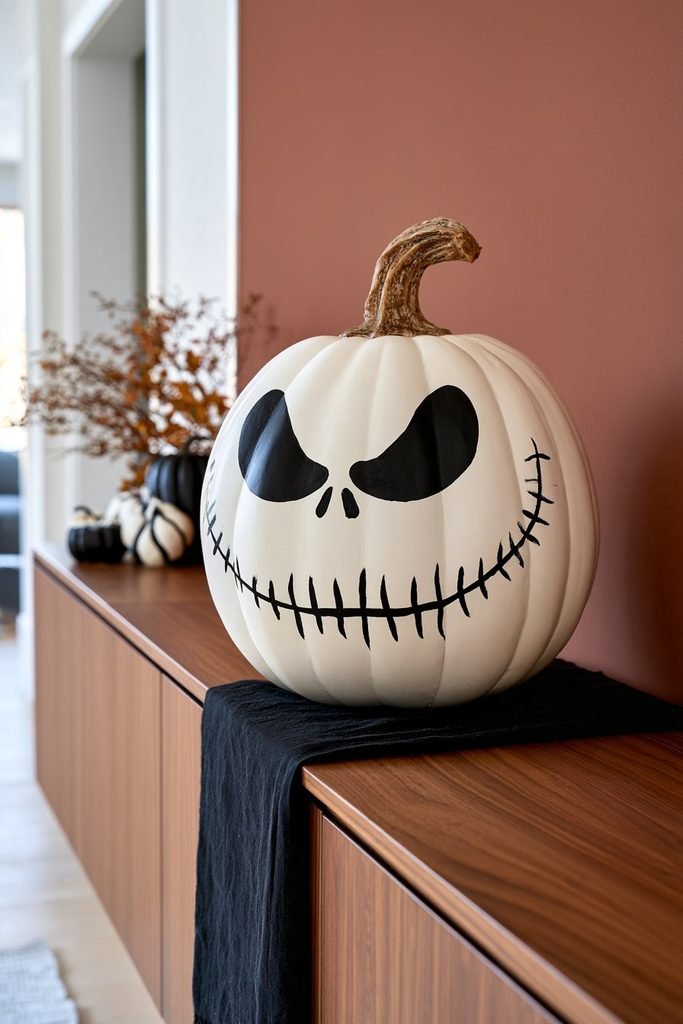
Paint a pumpkin white, then draw Jack’s eyes, nose, and mouth with a black marker for a mess-free version. Fun Money Mom uses a faux pumpkin for this design and recommends extending the stitches past the edges of the mouth for the signature look. A few matching painted gourds in black and white can fill out a mantel or entryway table without any knife work.
Patchwork Sally
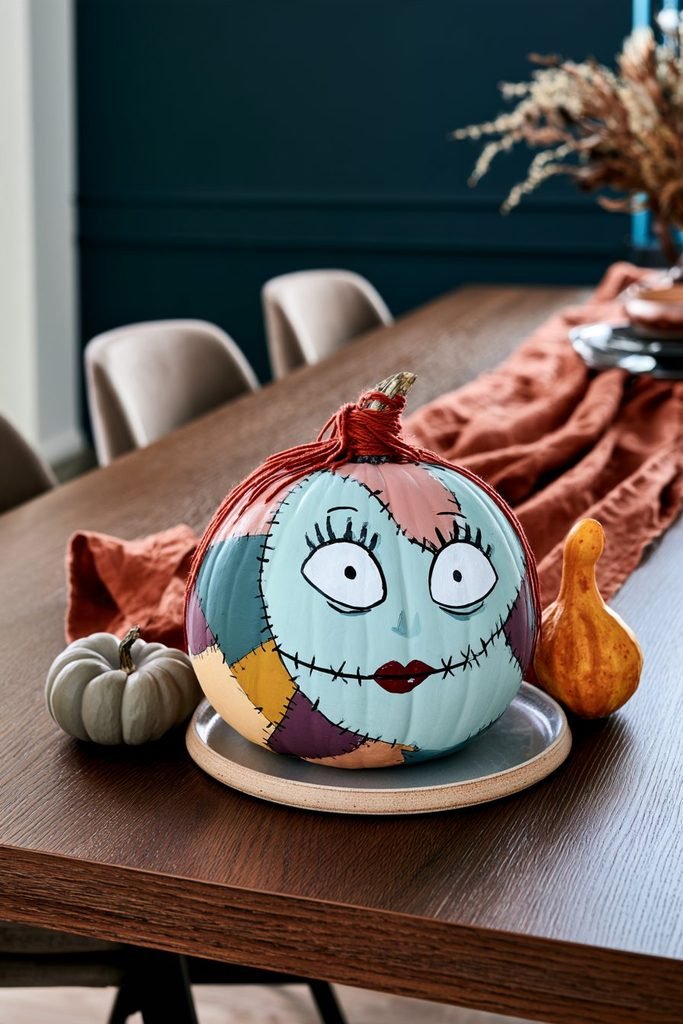
Paint Sally’s eyes, stitches, and mouth onto a pumpkin to capture her patchwork face. Red yarn can stand in for her hair, and a fine black marker can sharpen the stitch lines. Warm orange and soft gray paint on a neighboring pumpkin can balance the patchwork colors in a fall tablescape.
Sally’s Dress
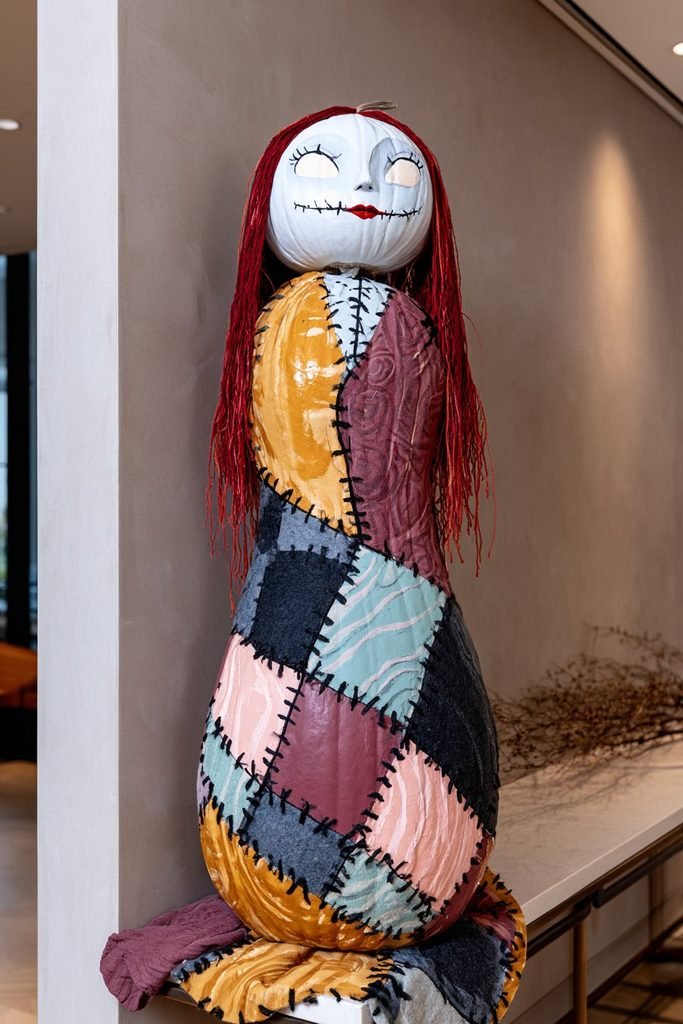
Pair the face with a second pumpkin decorated as her patchwork dress. Black marker patches drawn over the surface can sit beneath the head pumpkin to complete the figure. A scrap of burlap or felt in muted plum and mustard can mimic fabric patches and bring a handmade feel to the display.
Teal Twist
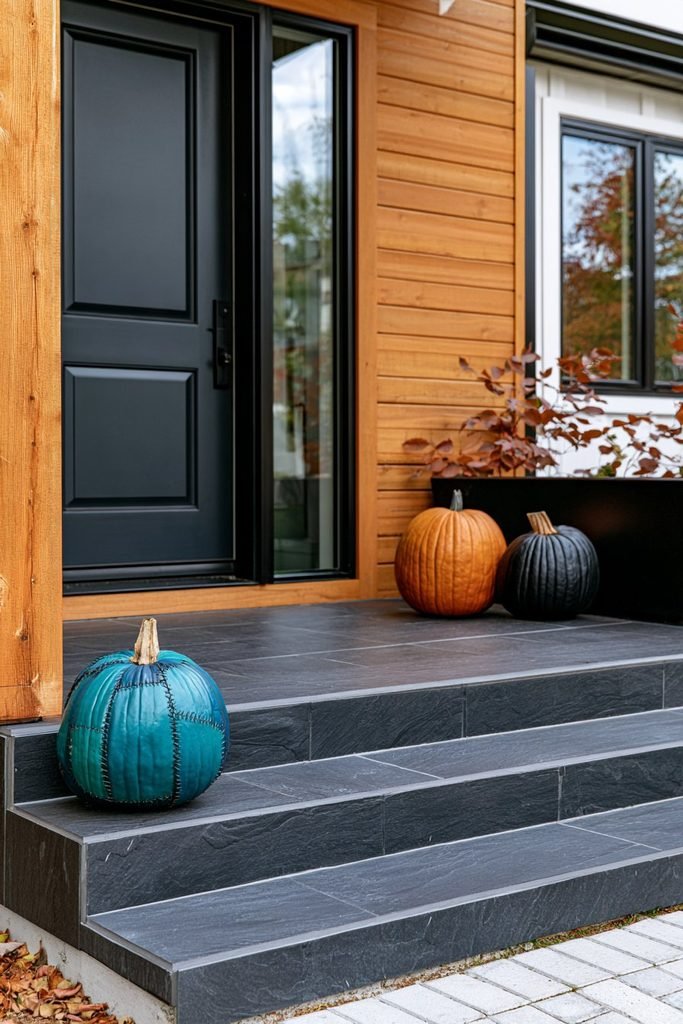
Choose a teal pumpkin for Sally to give the display added meaning. JaMonkey used a teal pumpkin because the Teal Pumpkin Project signals an allergy-friendly home for trick-or-treaters, and the cool color can also suit Sally’s palette. Placed beside black and orange pumpkins, a single teal one can act as a quiet accent that suits modern and eclectic porches alike.
Boogie Man Outline
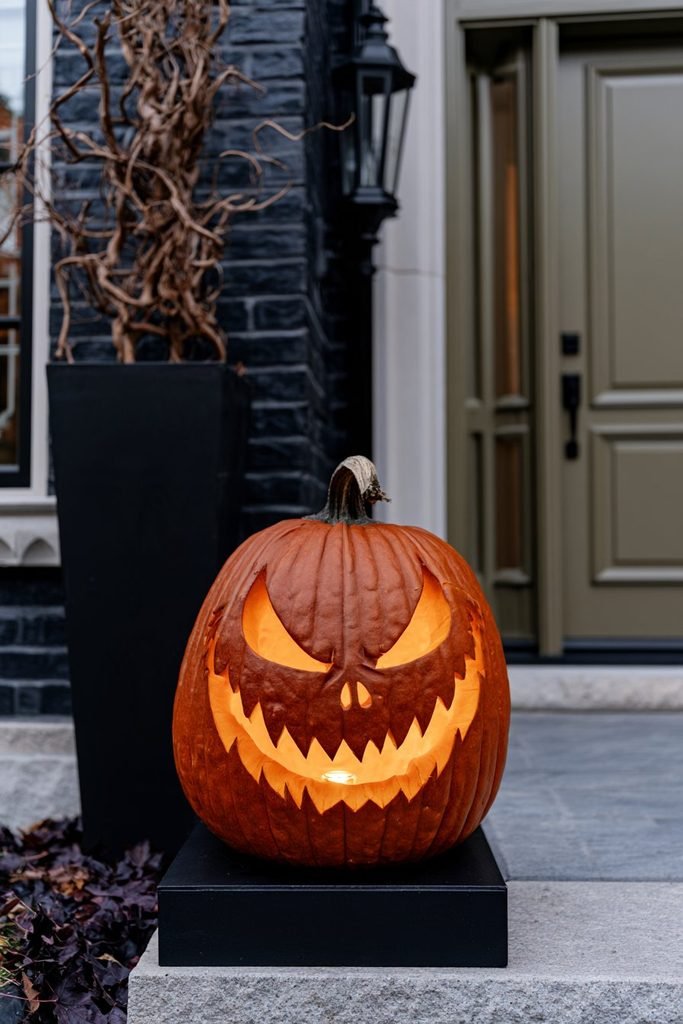
Carve Oogie Boogie as a simple head-and-shoulders outline with two eyes and a wide, creepy smile. The bold silhouette can read clearly from the street when a porch light or candle glows behind it. A spooky, gothic style works well here, especially when paired with black candles, dried branches, and a matte black planter.
Bold Boogie Paint
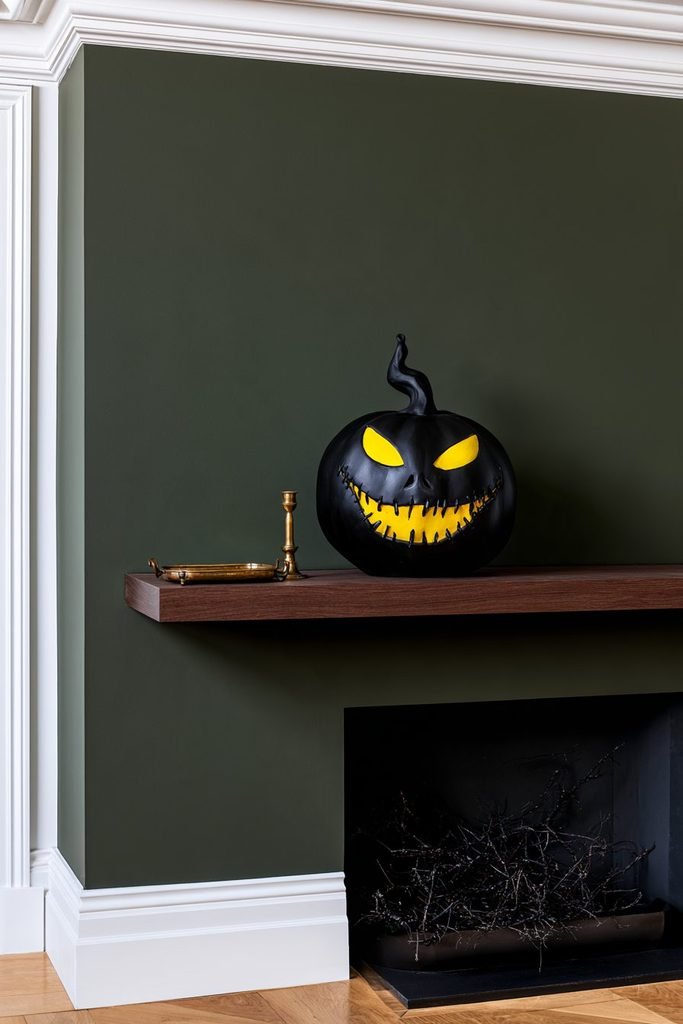
Paint the background black and the eyes and mouth bright yellow for an Oogie Boogie that needs no carving. A faux pumpkin can keep the paint finish smooth and the design ready to reuse. Metallic gold or antique brass accents nearby, such as a small tray or candle holder, can tie the colors together on a mantel.
Faux Pumpkin Carving
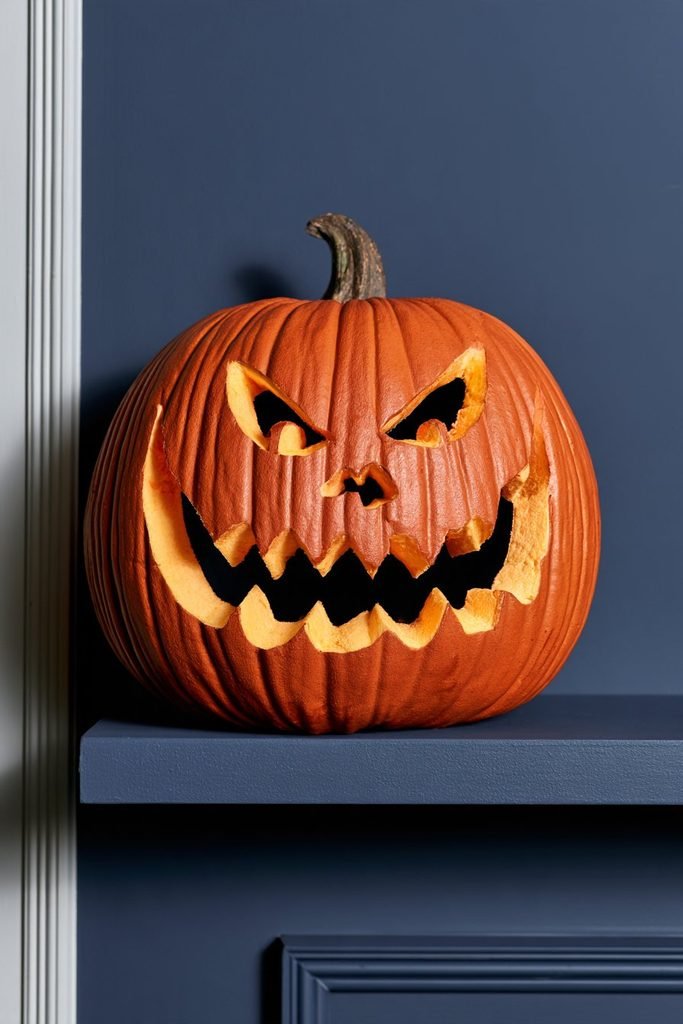
Choose a faux pumpkin for an Oogie Boogie that can return every Halloween. Chica and Jo explains that regular carving tools can work on faux pumpkins, while a hot knife can give the smoothest finish. Because faux pumpkins do not rot, this approach can also suit indoor shelves, entryways, and renter-friendly seasonal decor.
Ghost Dog Zero
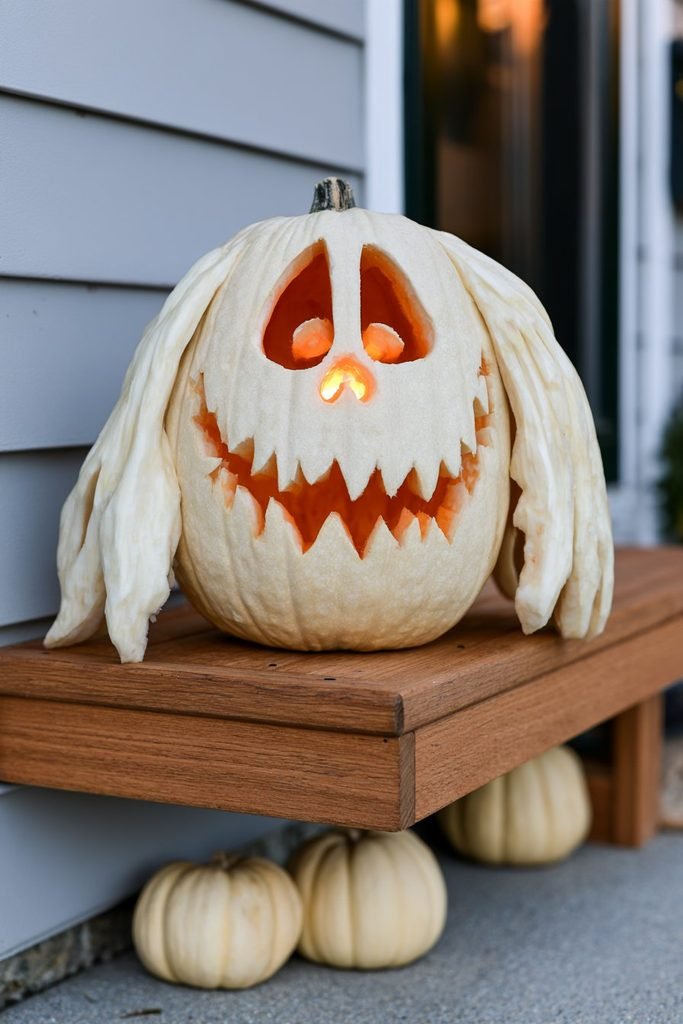
Zero makes a friendly first stencil project, with a simple ghostly shape and a small pumpkin-shaped nose. A white or pale pumpkin can suit the ghost dog, and a light inside can make the nose cutout glow orange. A cluster of white and cream pumpkins in different heights can create a soft, ghostly backdrop for the carved or painted figure.
Zero Star Topper
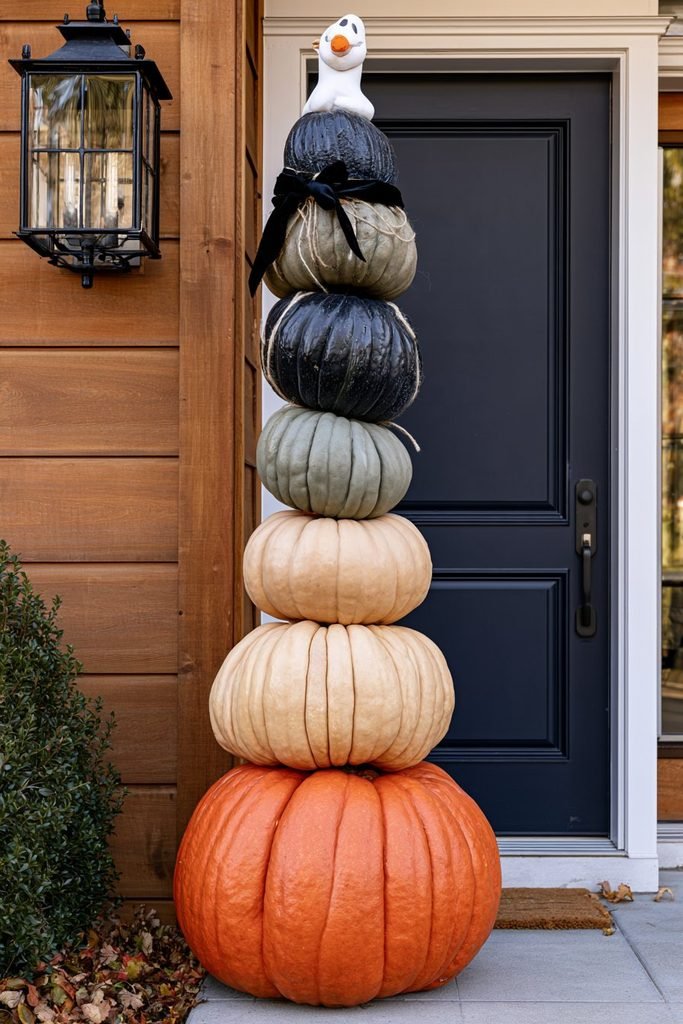
Place a small painted Zero at the top of a stacked pumpkin tree, where he can act as the star. Pumpkins in graduated sizes can give the stack a tidy, tree-like shape beside the front door. Tied with a bit of twine or a narrow black ribbon, the tower can look finished without needing extra decorations.
Trick-or-Treat Trio
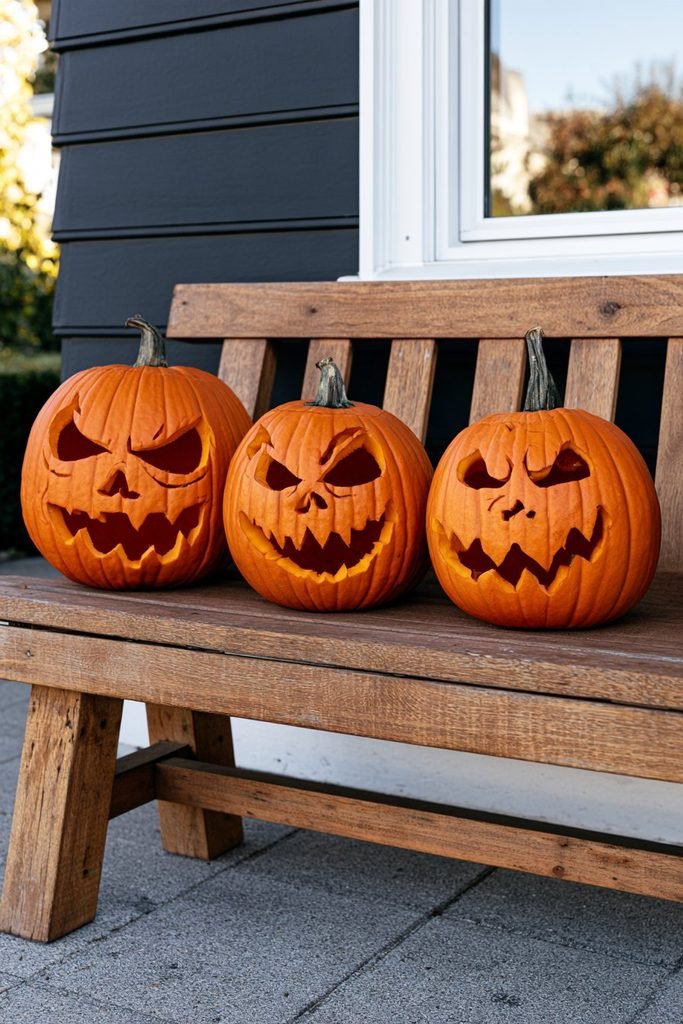
Carve Halloween Town’s troublemakers using a Lock, Shock, and Barrel stencil. All Things Hallows offers a stencil for the trio, and three smaller pumpkins in a row can give each mischievous face its own space. Set on a wooden crate or a weathered bench, the trio can suit a rustic farmhouse entry as well as a playful family porch.
Two-Faced Mayor
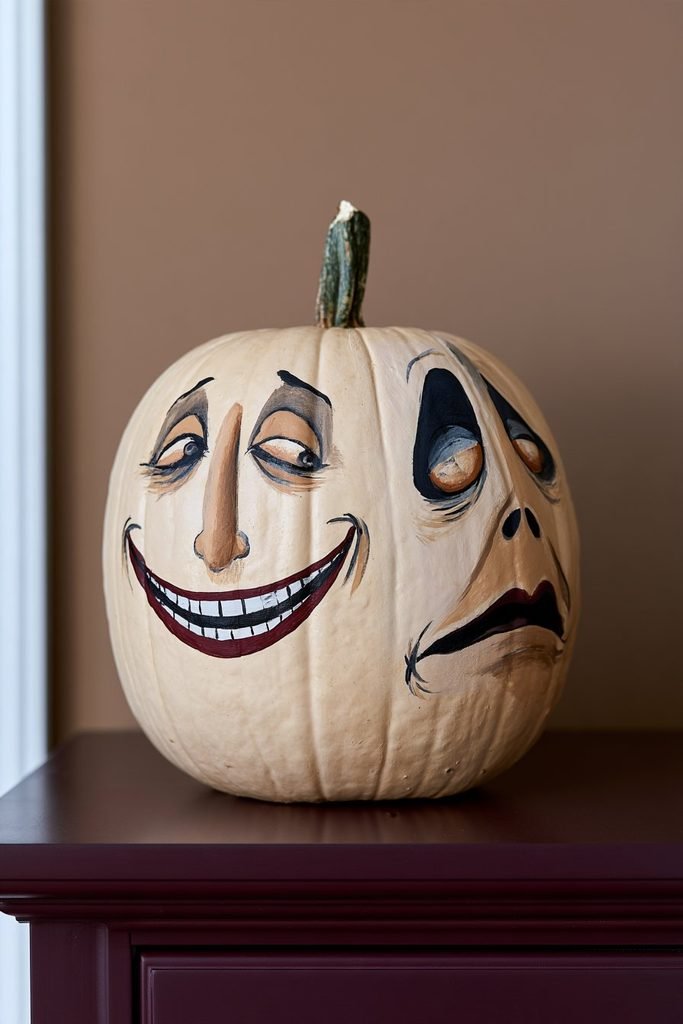
Add the Mayor of Halloween Town for a deeper cut that fans can appreciate. A painted version can show a smiling face on one side and a worried face on the other, matching his two-faced design. Tan, cream, and deep burgundy paint on the face can lend the pumpkin a vintage storybook feel on a bookshelf or console table.
Jack and Sally Duo
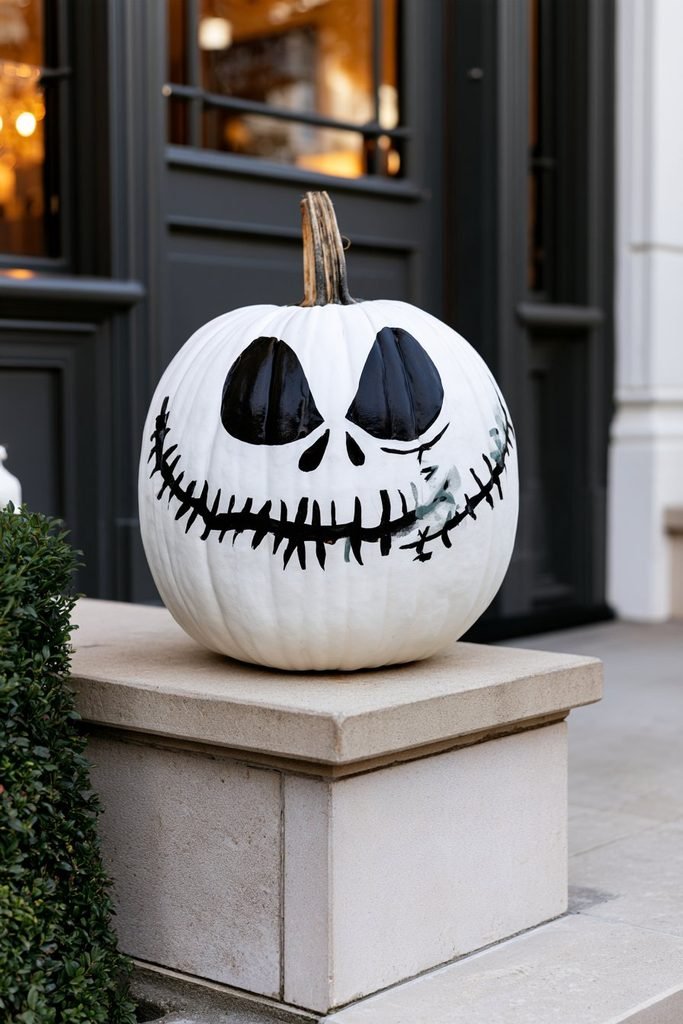
Put both faces on a single pumpkin for a pairing that nods to the film’s love story. A Jack and Sally stencil with two faces on one pumpkin can make a strong photo spot on a porch step. A coat of matte white paint under black details can give the pair a graphic, minimalist look that suits modern porches.
Half and Half
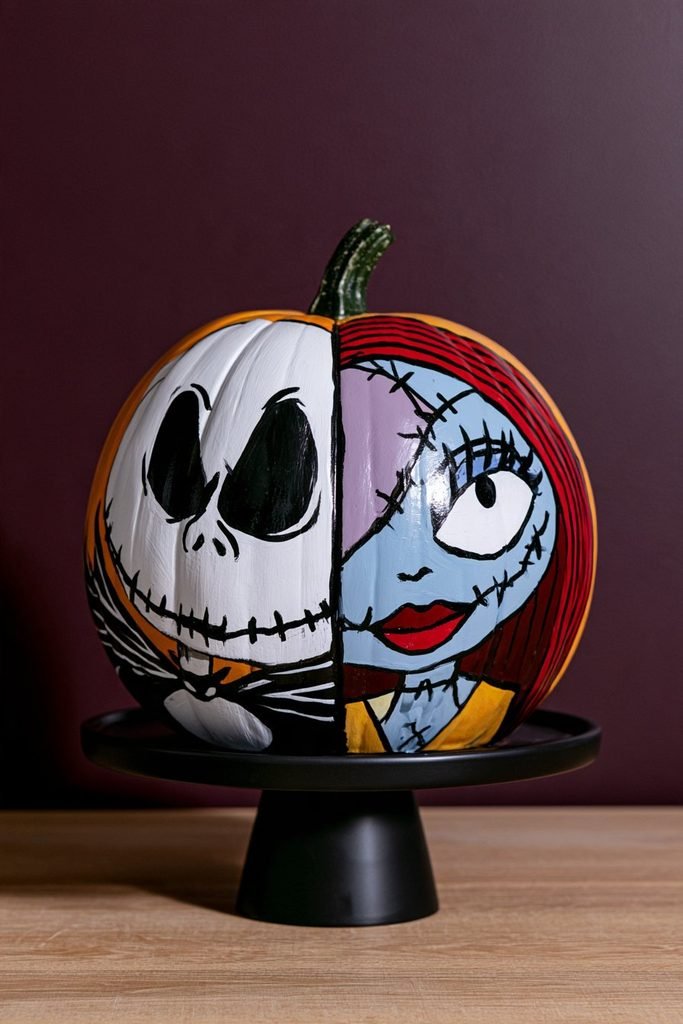
Split a painted pumpkin down the middle with Jack on one side and Sally on the other. Baby Savers features a half-and-half Jack and Sally pumpkin among its favorites, and the contrast between white and patchwork colors keeps the split easy to read. Setting the pumpkin on a small pedestal or cake stand can turn the painted design into a table centerpiece for a party.
Sugar Skull Jack
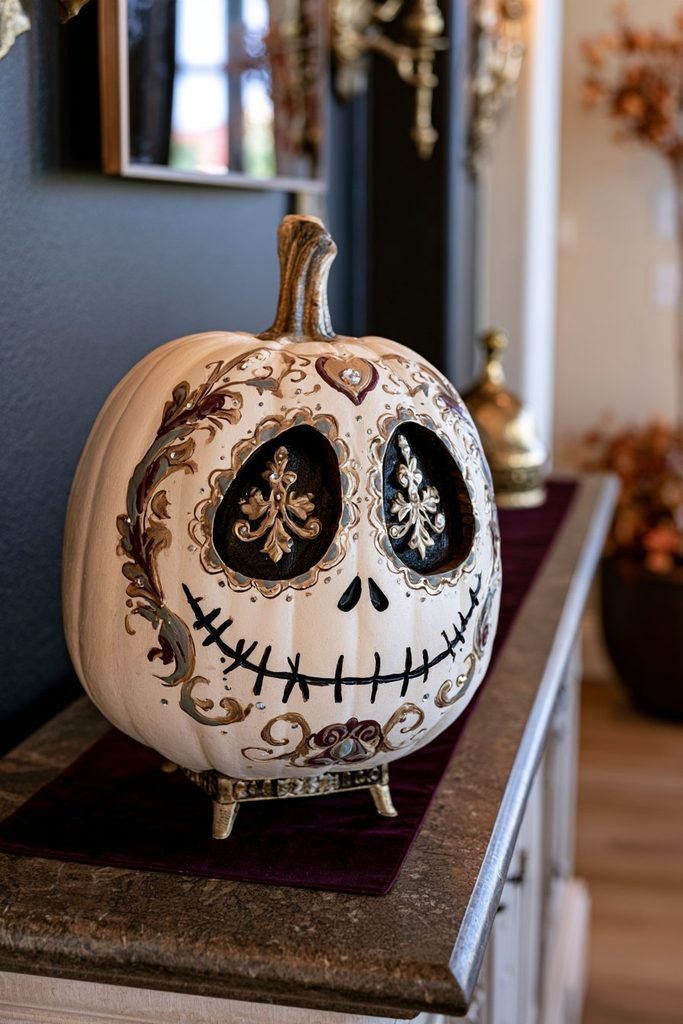
Add floral or ornamental details around Jack’s eyes for a sugar skull twist. The same Baby Savers roundup includes a sugar skull-inspired Jack, which shows how the character can suit a more decorative style. Gold metallic paint pens and tiny rhinestones can add a luxe touch for a more elegant, curated Halloween table.
Glow-in-the-Dark Jack
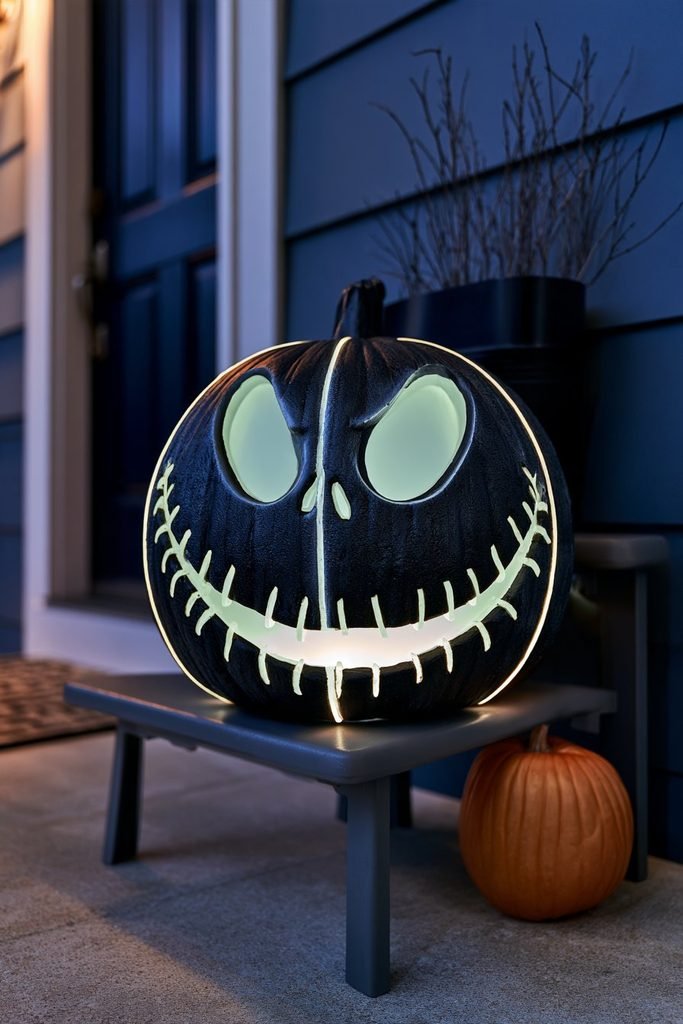
Glow-in-the-dark paint can keep a painted Jack visible after sunset without a candle or light. This approach can suit faux pumpkins and covered porches where an open flame is not practical. A battery-operated light tucked inside a faux pumpkin can add a gentle glow, and the painted lines can stay crisp for years.
Printable Boogie Pattern
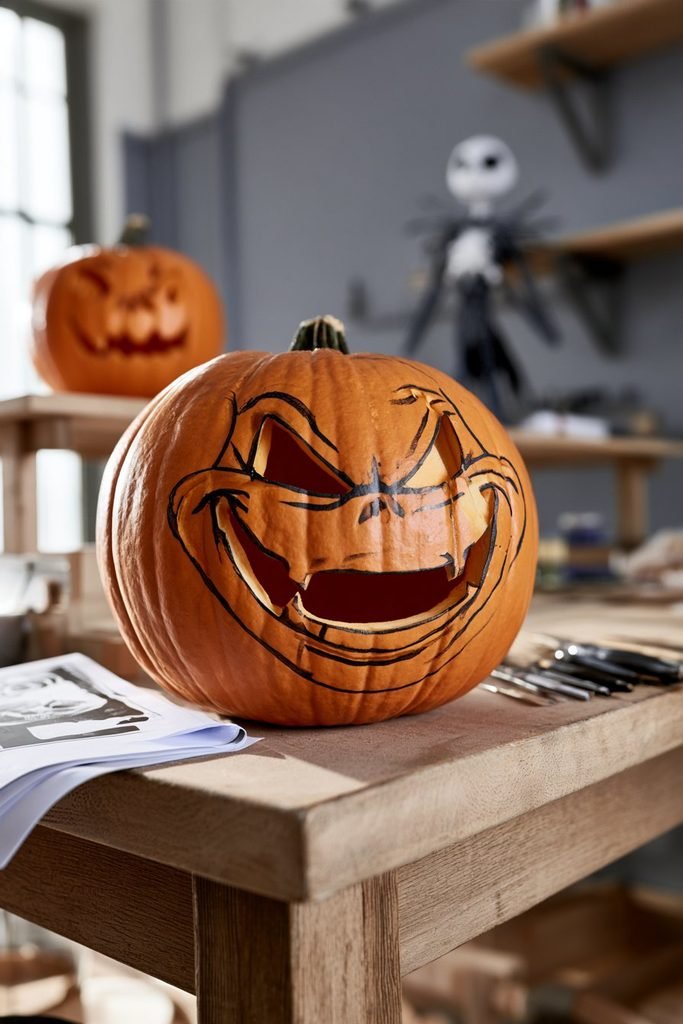
Trace a printable pattern for cleaner lines on an Oogie Boogie carving. Friday We’re In Love offers free Oogie Boogie carving templates alongside a Jack Skellington template, so the two can sit together as a matching pair. Tracing with graphite transfer paper can help the pattern line up and keep fine details like the eyes and mouth sharp.
Ribbon Accents
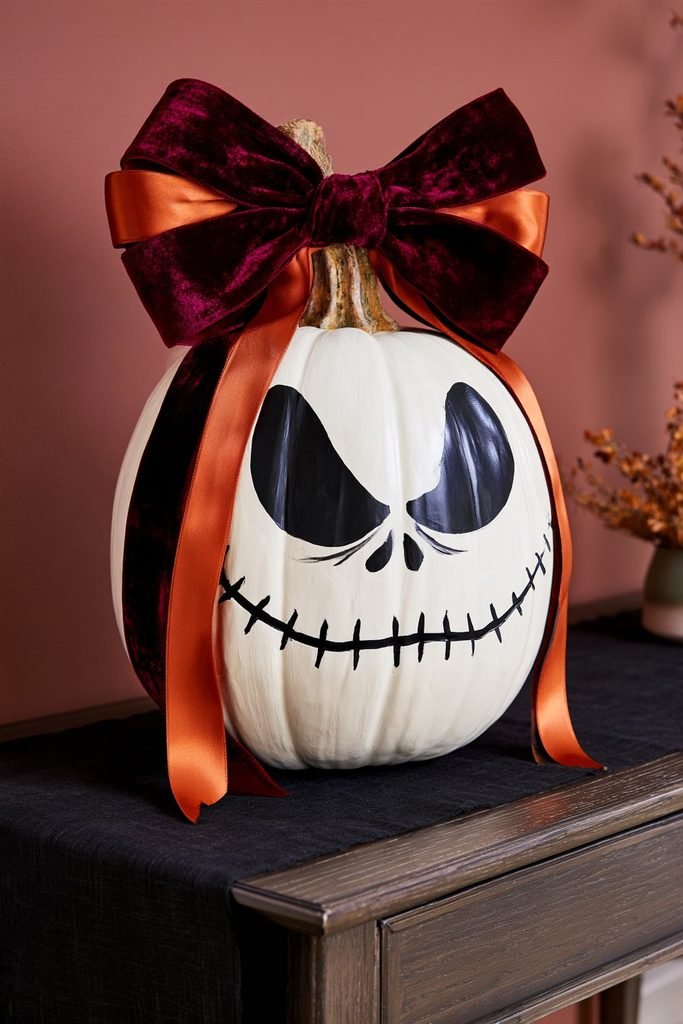
Tie wide orange and purple ribbons around the stem of a painted Jack for a polished finish. Paper straws can add small details, and the colors can echo the film’s Halloween palette. Layered with burlap, wide plaid ribbon, or velvet in deep plum, the stem can become a decorative focal point.
Stacked Totem
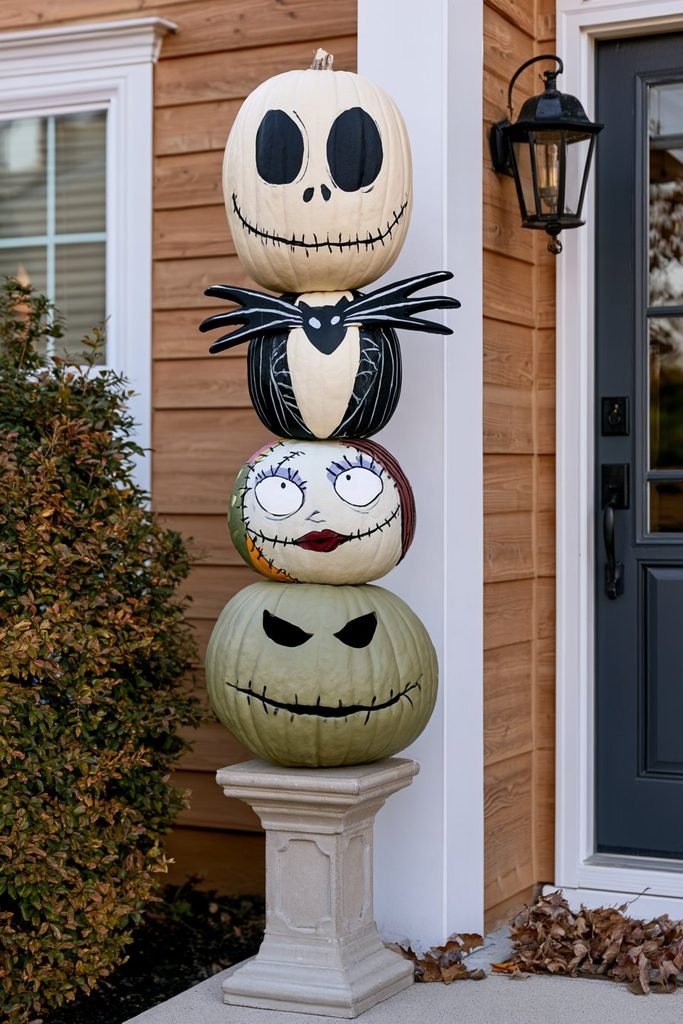
Stack painted pumpkins in a totem with Jack on top, Sally in the middle, and Oogie Boogie at the base. A wide, flat pumpkin at the bottom can keep the tower stable. Varying the pumpkin sizes and finishes, such as matte black and glossy white, can add depth to the stack.
Stencil Book Lineup
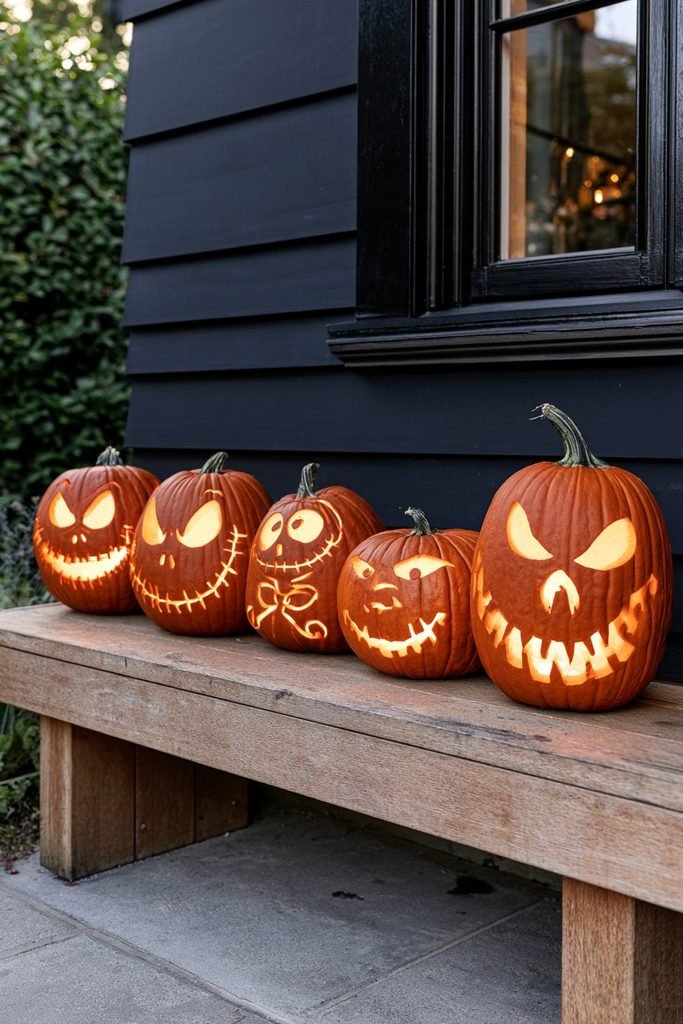
A licensed stencil set can produce a full row of characters with a consistent style. The official Nightmare Before Christmas stencil book from Spirit Halloween includes seven designs, including Jack, Sally, Zero, the Mayor, and Oogie Boogie. A row of identical stencils on pumpkins of similar size can give a porch step a cohesive, symmetrical look.
Foam Pumpkin Reuse
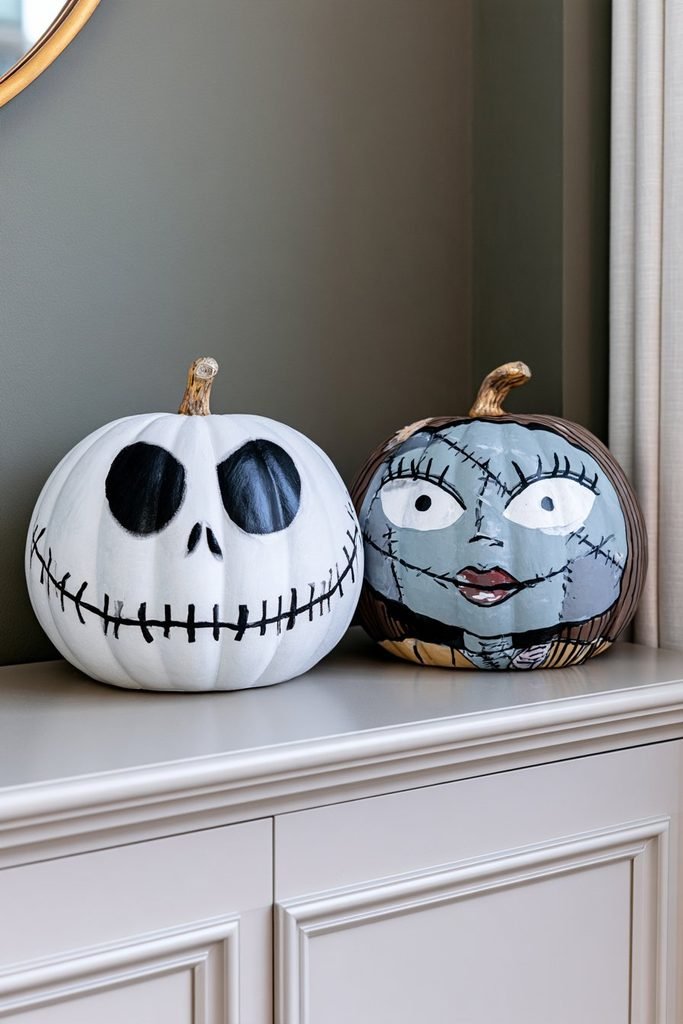
Foam pumpkins from a dollar store can be painted into Jack and Sally for a budget-friendly display. They are lightweight, mess-free, and can be stored and brought out again each fall. Painted in a sealed finish, foam pumpkins can last for years and travel easily to a classroom, office, or party table.
Layered Display
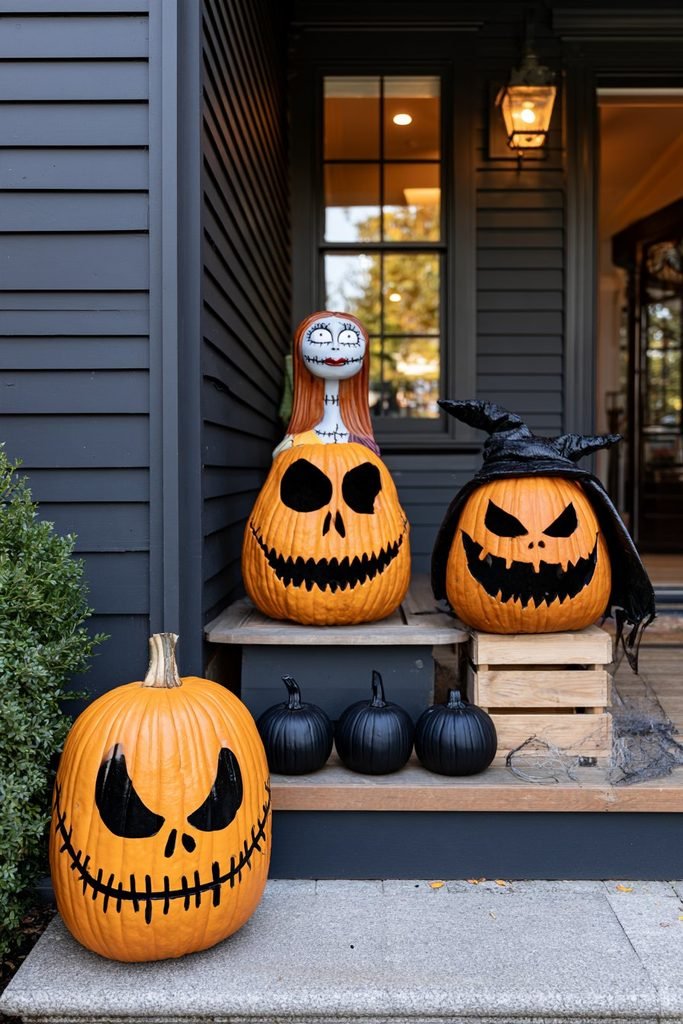
Arrange character pumpkins in layers, with body sections on the ground and head pumpkins raised above them. Hay bales, crates, or an upturned planter can create the height. A scattering of faux cobwebs, mini skeletons, or small black pumpkins around the base can complete the Halloween Town scene.
Bats and Spiders
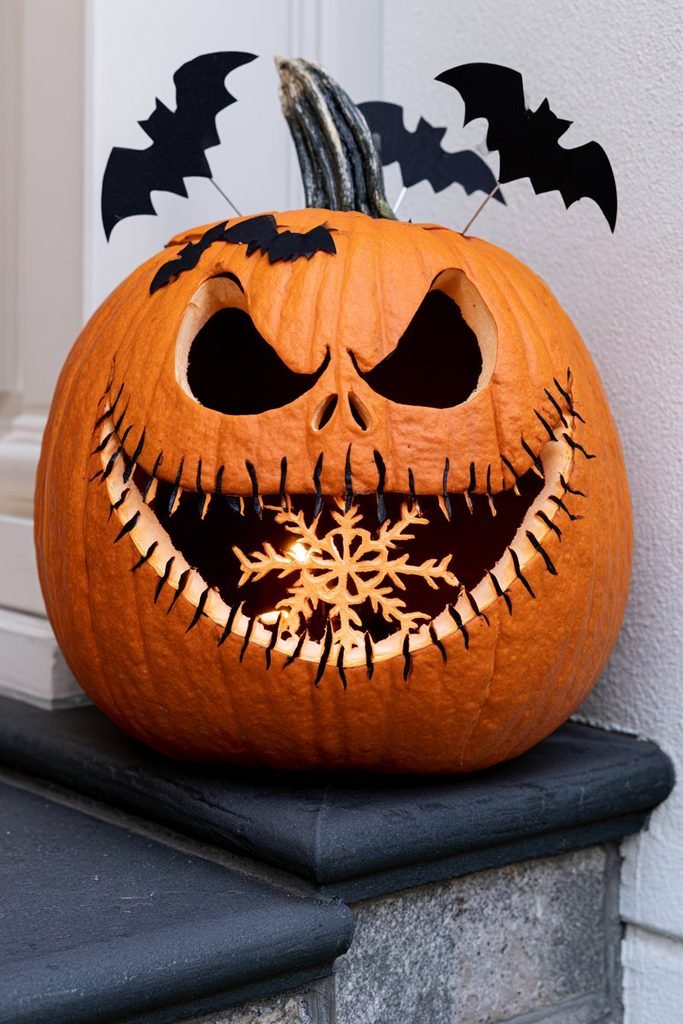
Carve a few small bats around Jack’s head or add his spider snowflake for a Christmas Town crossover. Small accent cutouts can fill empty space on the pumpkin and add movement to the design. Black cardstock bats on thin wire stems tucked into the stem area can extend the look beyond the pumpkin itself.
Frequently Asked Questions
What is the easiest Nightmare Before Christmas pumpkin to carve?
Jack Skellington and Zero are the most beginner-friendly choices. Jack’s design resembles a classic jack-o’-lantern, while Zero’s simple shape makes a good first stencil project.
Can a Nightmare Before Christmas pumpkin be made without carving?
Yes. Acrylic paint, black markers, and faux or foam pumpkins can recreate Jack, Sally, Oogie Boogie, and Zero without any carving. Painted pumpkins also last longer and can be reused.
Which pumpkin works best for a stencil?
A pumpkin that fits the stencil is the best choice, so it helps to keep the design in mind at the pumpkin patch. A pointed serrated utility knife and push pins to hold the pattern in place can make the transfer and cutting easier.
How can painted pumpkins last longer?
Sealing a painted pumpkin with a clear coat can protect the design. Faux pumpkins can also be stored and reused each Halloween.